
Welcome to the Lolly Law quick start guide.
Lolly Law helps streamline your client intake, screen with questionnaires, and helps to manage client on-boarding. You'll add or import contacts to your account, and then use Lolly Law to manage scheduling of consultations, assigning intakes, opening matters, and more. Then you can use reports to see the overall activity of your firm.
This article will outline four simple steps you can take to be successful on day one.
Update your profile
Add Firm Info and Branding
Add case types to your Library
Check settings
Invite users to your account
Import or add contacts
1. Update your profile
Set some basic details for your profile so that the system can autopopulate forms with your information.
Click on your name in the left main navigation panel. A popup menu will appear. Choose 'My Profile'.
Review and update your information. In particular, fill out the section under 'Representative Info'
Press 'save' button to keep changes
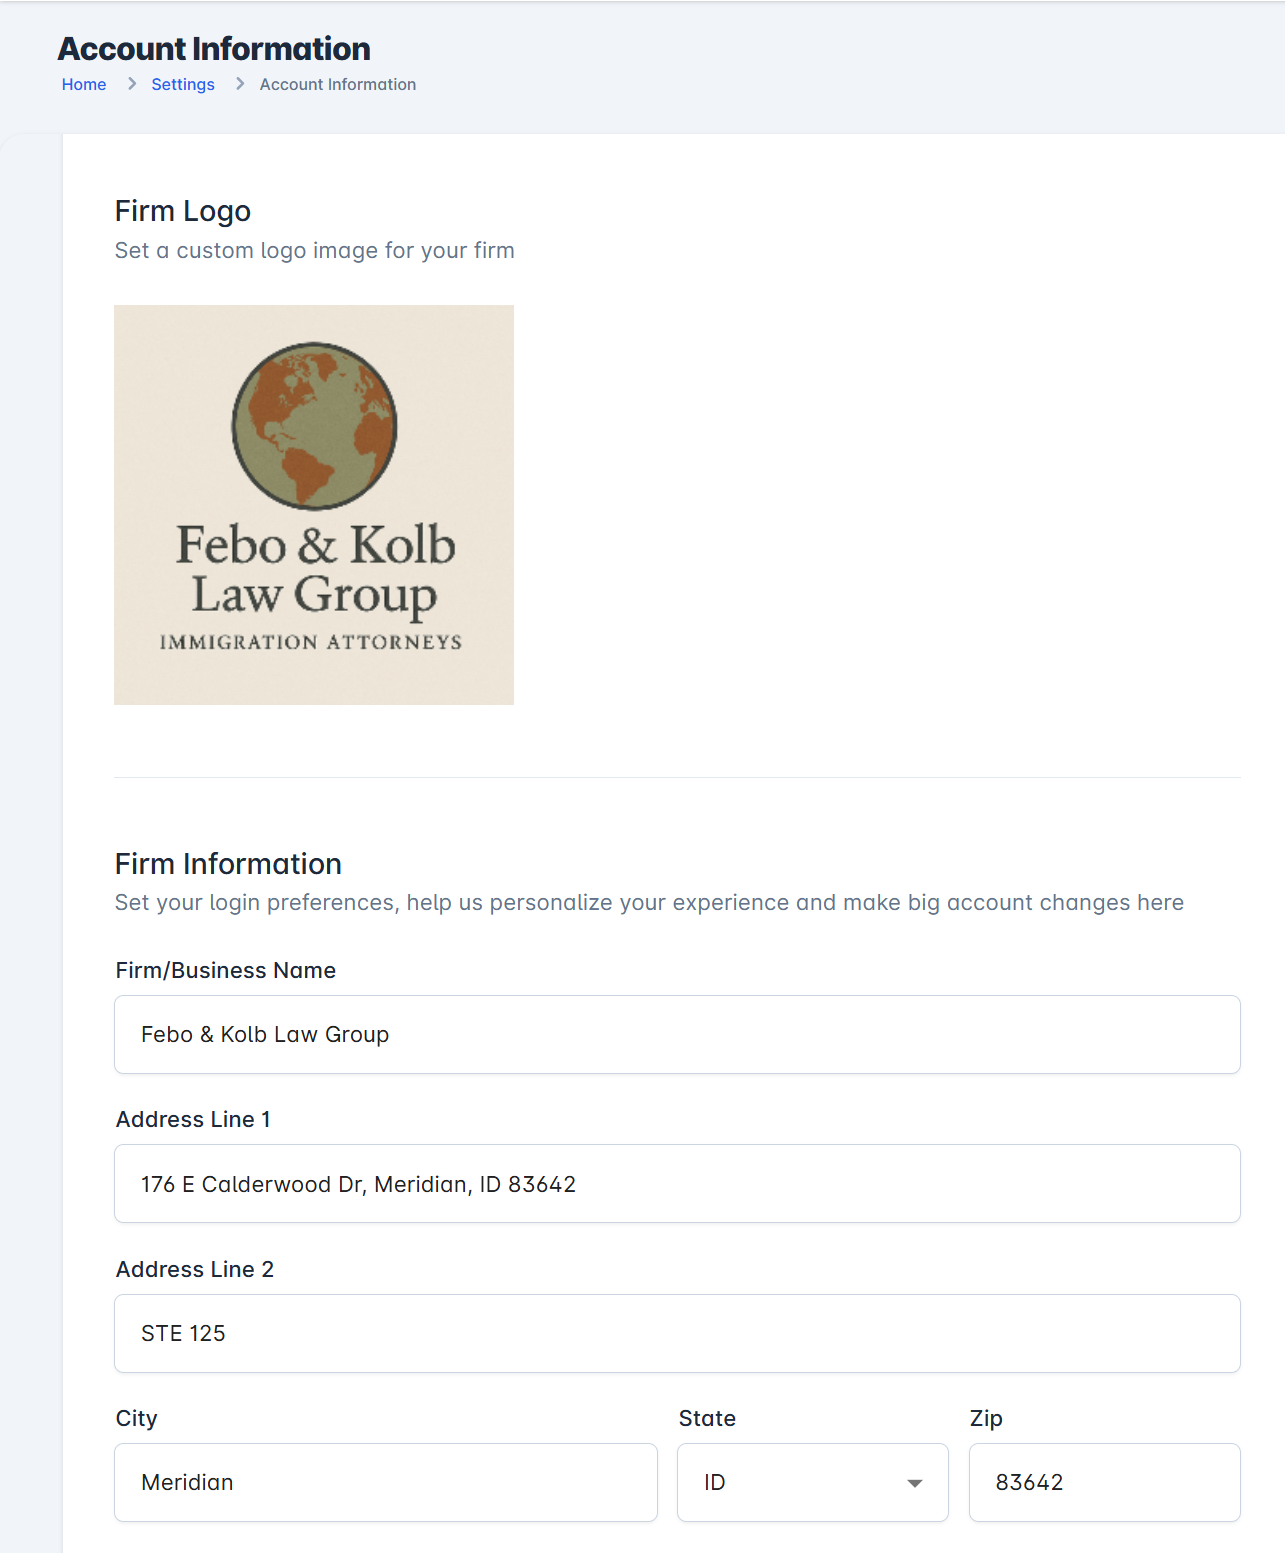
2. Add Firm Info and Branding
Set some basic details about the firm so that the system can auto-populate forms and document templates. You can also upload a logo and create office groups as well. To add your firm information and upload a logo:
From Settings, click on "Account Information"
Click to add a firm logo
Set you business name and business address that will print to documents
Click "Save"
3. Add case types to your Library
Your Library, accessible from the main navigation, is a place to create and store content for your account. When your account was created, depending on the "Area of Focus" chosen during on-boarding, your account was pre-loaded with related case types. Case Types are pre-defined workflows and document sets that align to a particular case process. Case Types can be customized to be the way you want them and you can create brand new ones too. These will save time for you and your staff when opening a new matter.
From Library, click on "Case Types"
Search case types or browse the list
Click on "Subscribe" to enable the case template for use in your account.
4. Check Settings
Take a moment to look over the options available to you under Settings->Account Configuration. There are features and preferences you can turn on or off that will change how Lolly works for you. There are also lists of options (ex. case statuses) that can be customized to fit your firm's processes. If you have questions about any of these options, contact support@lollylaw.com.
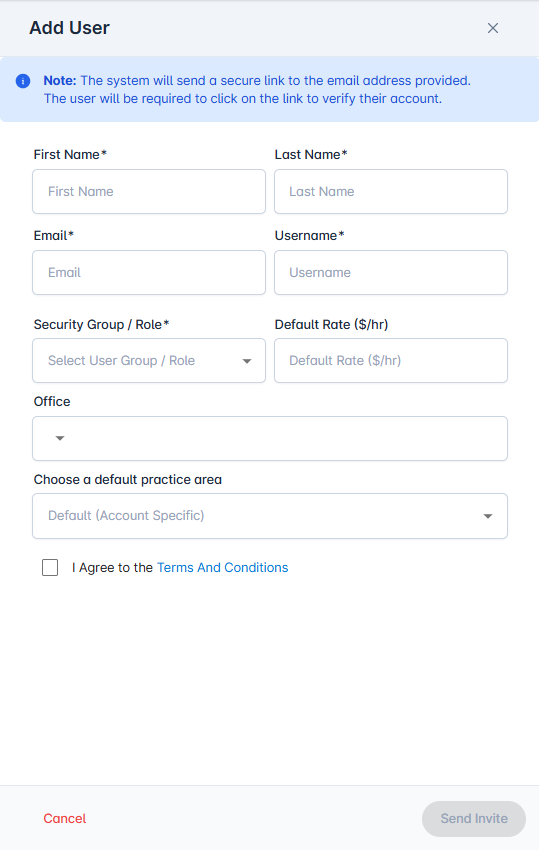
5. Invite users to your account
Once you've created a Lolly Law account, you will need to invite the other users and setup their access. To add more users:
From Settings, click User Management
Press the "Add User" button.
Complete the user invitation, choosing a Security Group/Role to govern their access and permissions, then press "Send Invite. The system will then send them an automated email inviting them to join your account.
6. Import or Add Contacts
You can add new Contact records to the system using the Lolly UI. For instructions on how to add a new contact, here is a quick guide.
If you have a lot of contacts to add to the system and would like to import that data, please contact us at support@lollylaw.com to connect with one of our technicians about data migration.