
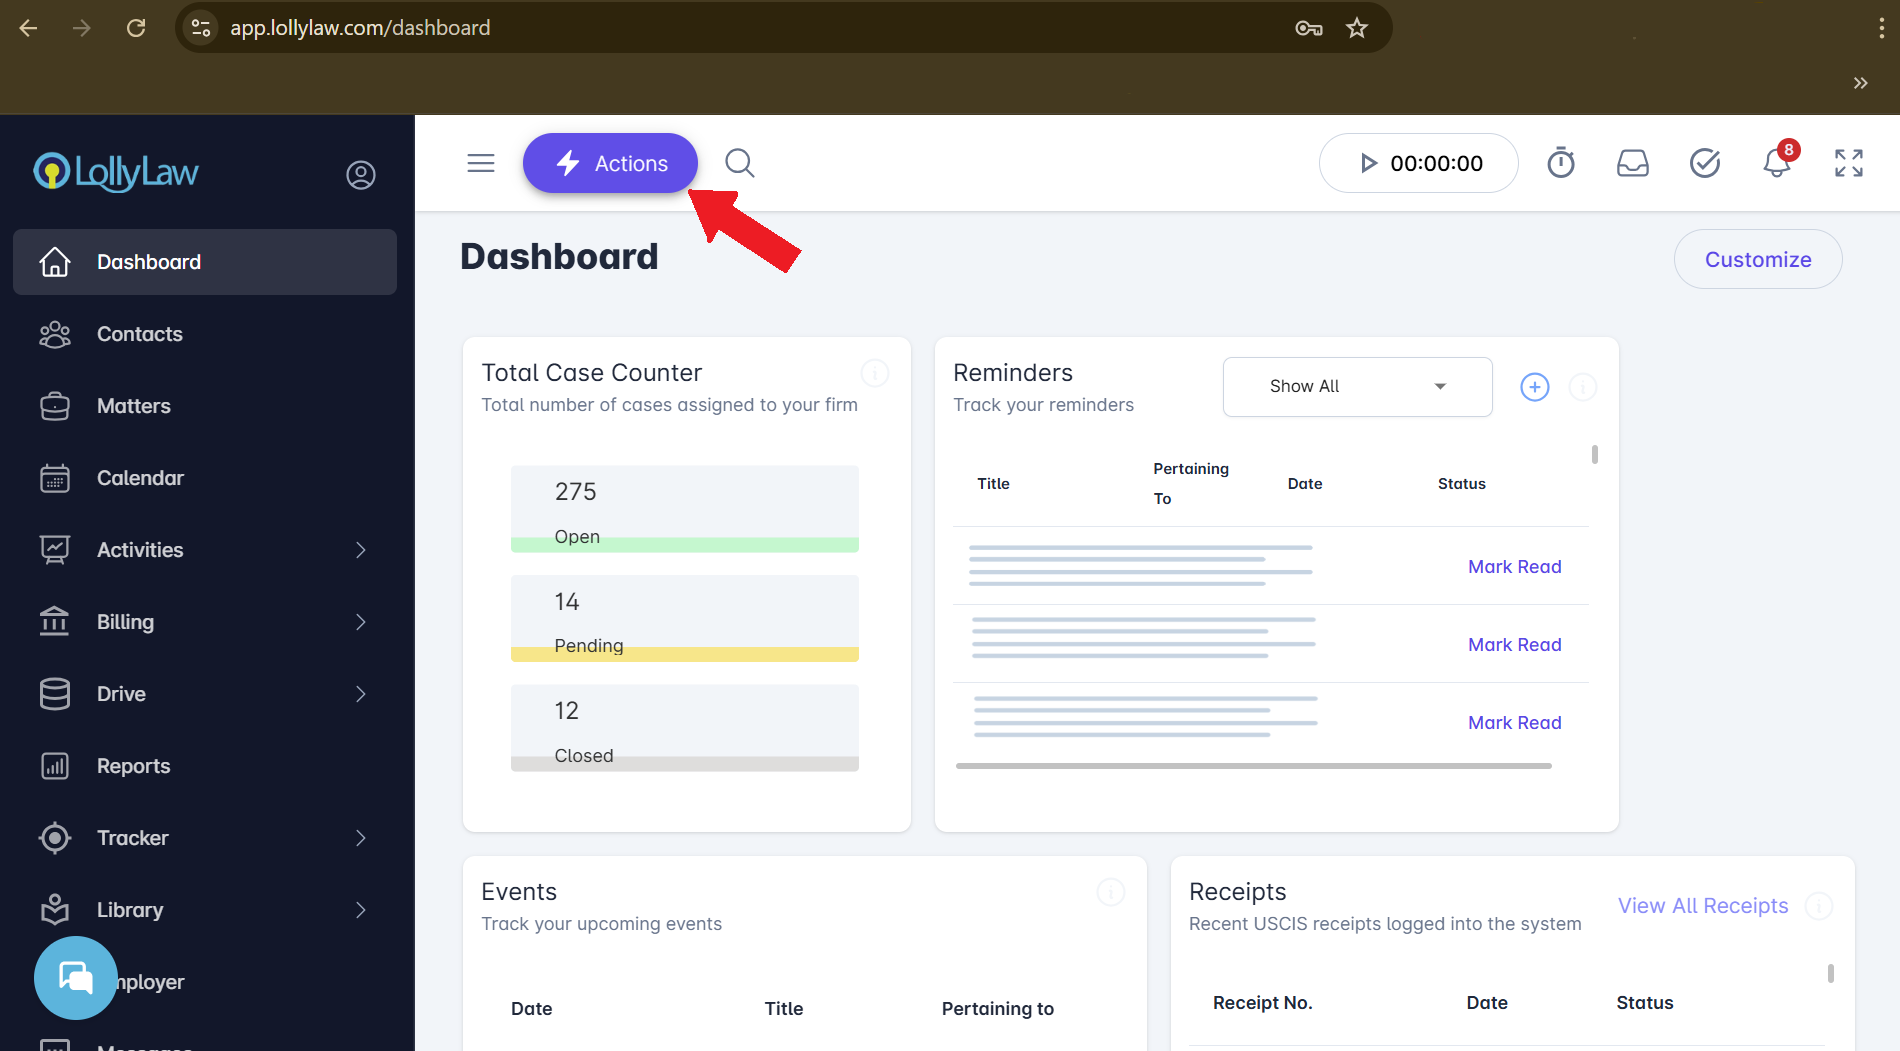
Step 1: Actions > Add Contact
Click the Actions button located on the left side of the top navigation bar, and select Add Contact.
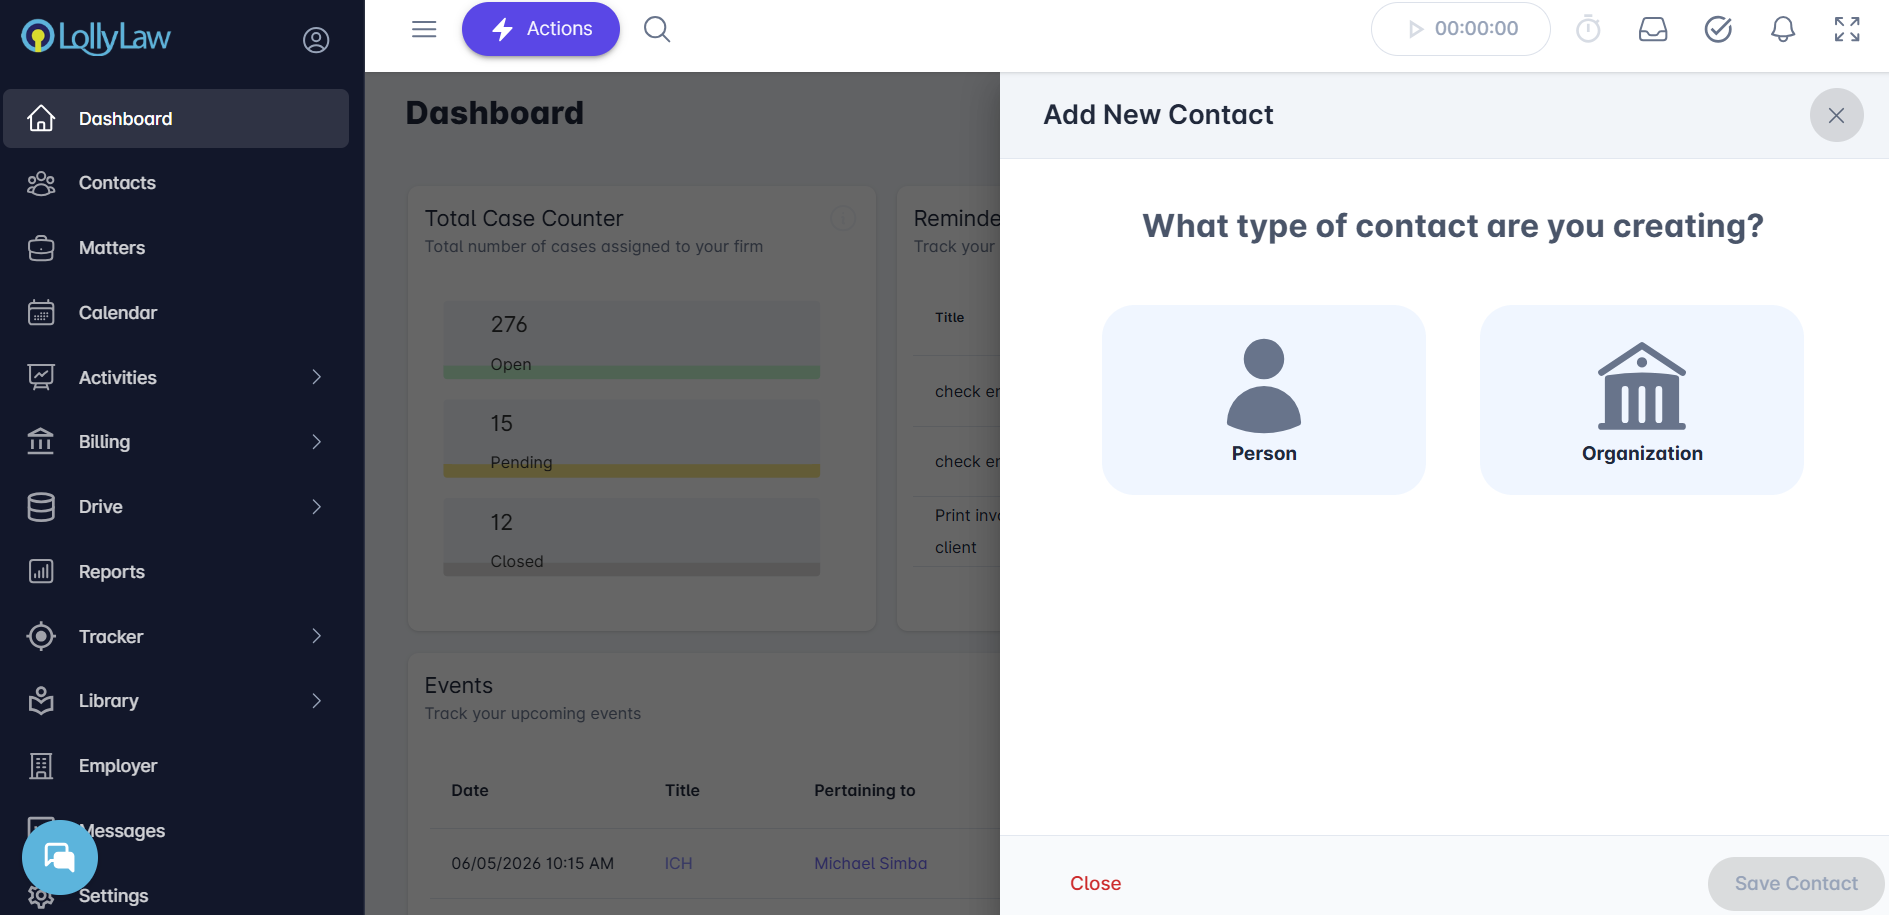
Step 2: Enter Contact Details
In the Add Contact drawer, complete the required and relevant fields. The more information you add now, the easier it will be to manage the contact later. Key fields include:
Basic Information
Enter at least the first and last name of the new contact.Contact Information
Add relevant email addresses and phone numbers to get in contact with the client.Addresses
List the contact's mailing and physical addresses.Demographics
Add the contact's alien number (if applicable), country of nationality, preferred language, and more.CRM
Add a referral source or name.
After completing the necessary information, click Save. Once saved, you will be automatically redirected to the Snapshot tab for the new contact.
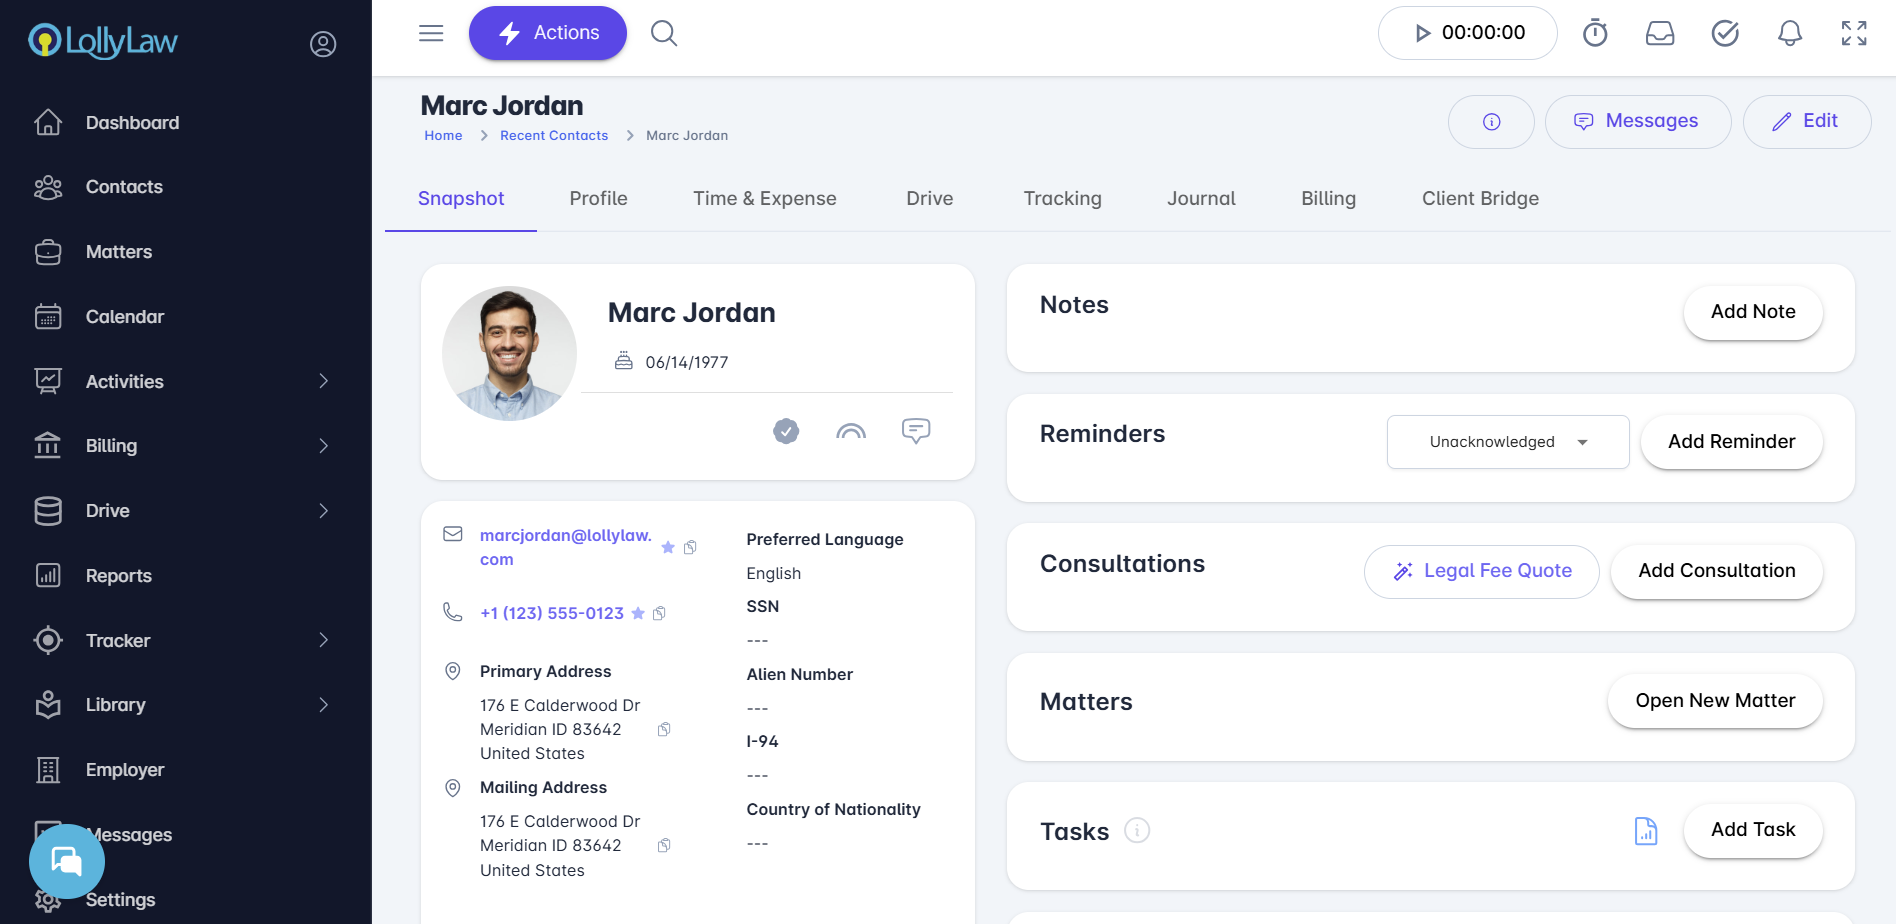
From here, you can continue building out the contact by uploading a profile photo, enabling the Client Bridge portal, adding documents, time entries, and more.