
When setting up the Client Bridge, you can customize the appearance and other settings to determine how the Client Bridge appears and functions to your clients when they log in.
Customize Your Client Bridge
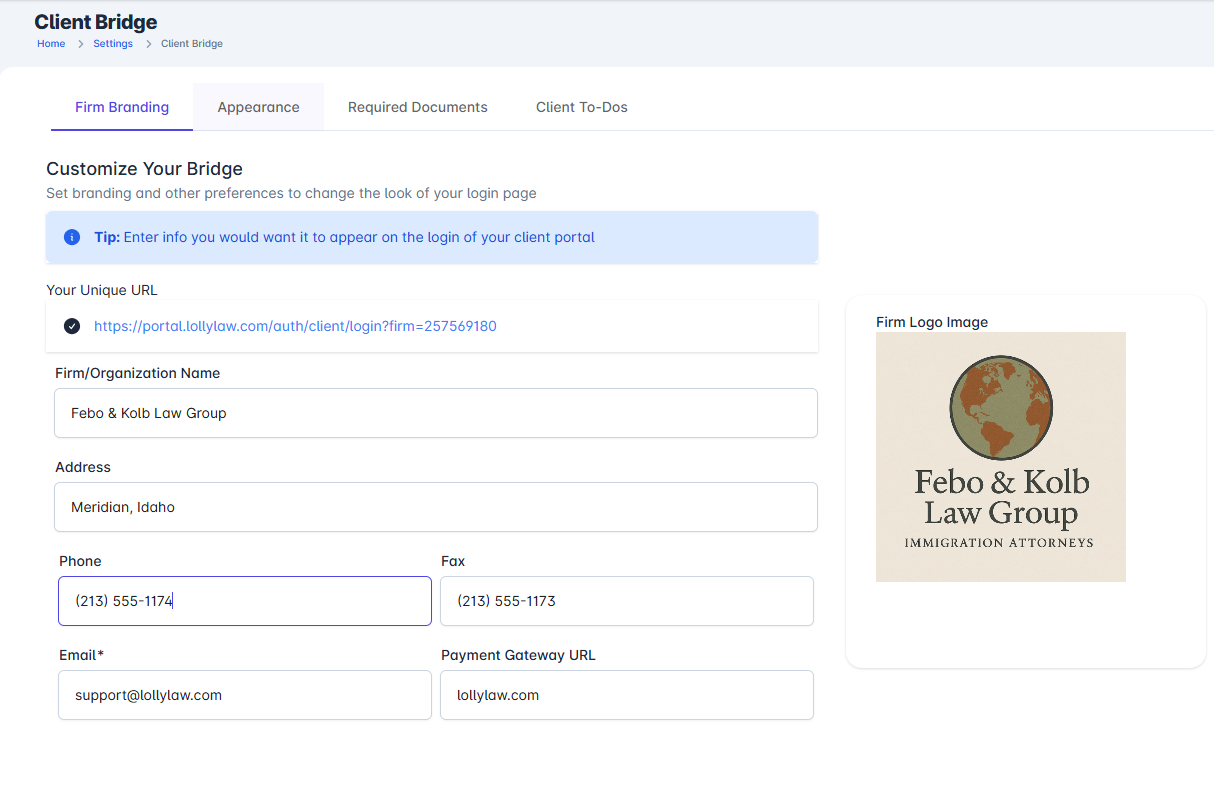
Go to Settings>Client Bridge.
Enter your law firm's information, including the firm name, address, phone number, fax number, and email.
Under 'Firm Logo Image', upload your law firm's logo by selecting 'Change Firm Logo' and choosing the file you would like to upload.
Customize the background color for the Client Bridge by selecting the color of your choosing under 'Appearance'.
Scroll to the bottom of the page and select the green 'Save' button.
The information, logo, and color scheme you selected will display when your client logs into the Client Bridge.
Manage 'Required Documents' Lists
Your office can create lists of required documents for your clients to upload to the Client Bridge based on the case type.
Go to Settings>Client Bridge.
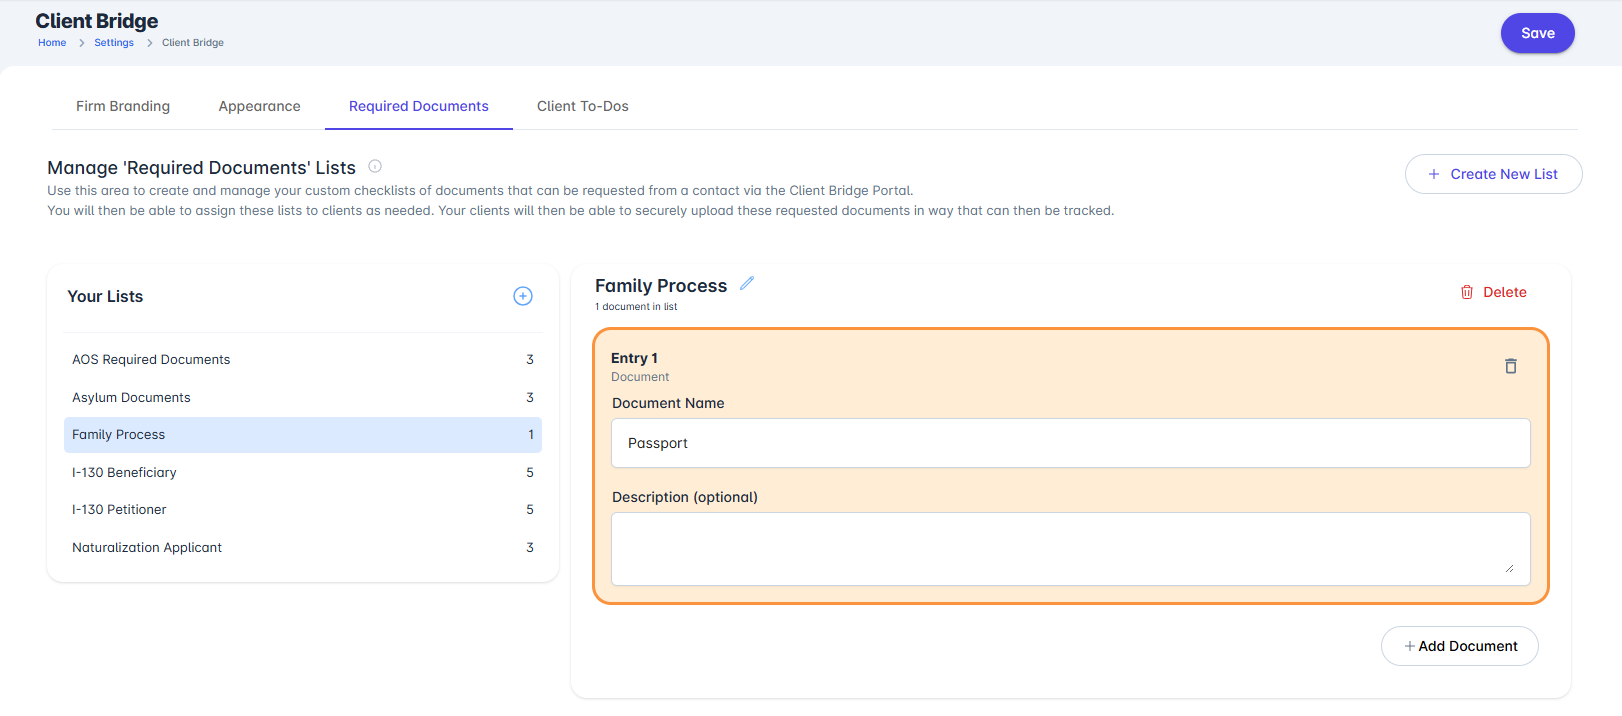
Click on the 'Required Documents' tab, and click 'Add New'.
Click the (+) icon (Create New List) to add a new list of required documents, and name the list.
Select the green 'Add Document' button to add documents to the list you are creating. New fields will appear where you can add the details of the document. Type the name of the document under 'Document Name' and a short description explaining what the document should include under 'Description'.
Repeat Step 4 until your list is complete.
Select the 'Save' button.
That is a summary on how to configure the branding in your firm's client bridge. If you still have questions, you can view the related help articles, our video series shown at the top of this article, or reach out to our support team, support@lollylaw.com, and we will be happy to help.