Whether you're a solo practitioner managing your clients' payments or you're on the accounting team of a busy immigration law group, streamlining your clients' bills and processing their payments is critical to your office's success. With LollyLaw's 'Quick Bill' feature, you can generate a charge, approve the invoice, and process payments all within the same screen.
You might have instances where a brand new client is waiting for you to generate and approve their invoice so they can process payment with you over the phone or in person. LollyLaw's 'Quick Bill' feature will accelerate this process for you and allow you to generate the bill, approve it, and process payment in one quick and easy step.
The following instructions will allow you to get started with LollyLaw's Quick Bill feature, and begin generating and processing payments seamlessly.
Verify User Permissions
First, you will need to update your office's security groups' permissions.
1. Go to Settings>Security Groups, and select the groups which you would like to enable permissions for this Quick Bill feature. Note: to enable this Quick Bill feature, the user must have Billing permissions.
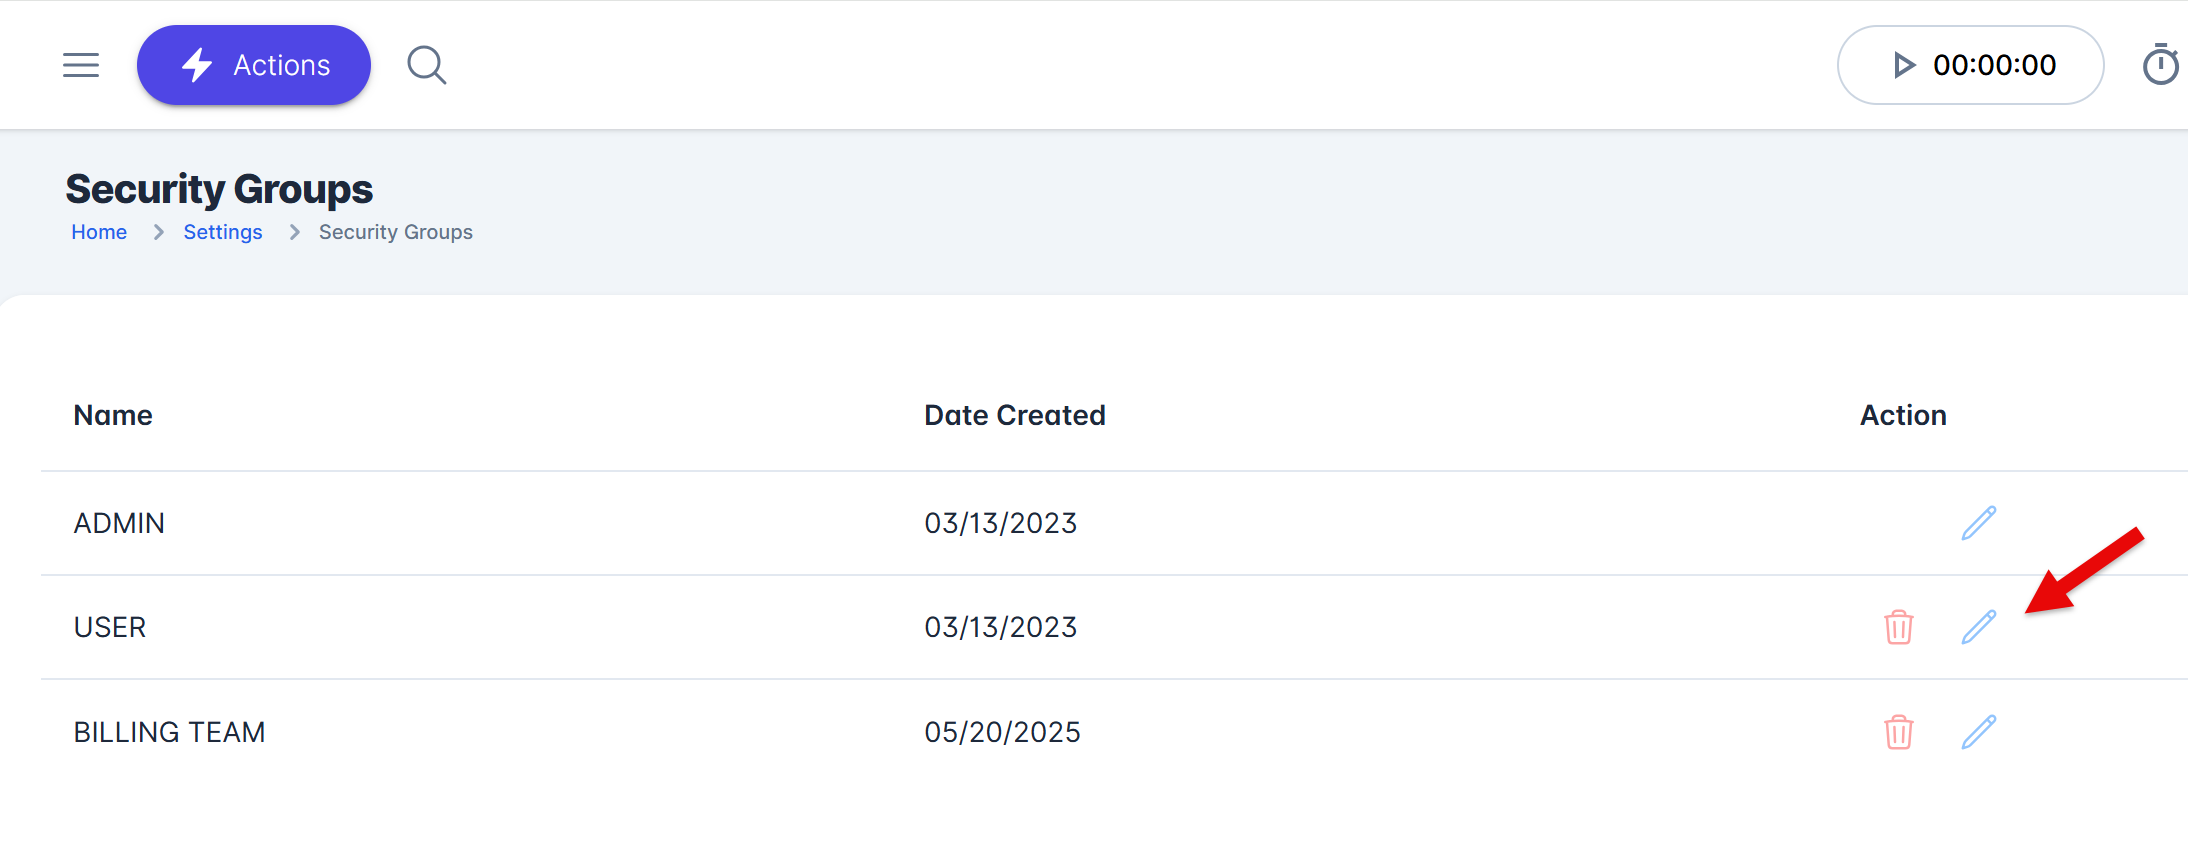
2. Select the permission "Can use 'Quick Bill' option to create invoices and process payments (requires Billing features permissions)" Once the permissions are enabled for "Quick Bill," the user will be able to use the Quick Bill feature.

Quick Bill Feature
To use the Quick Bill feature, a permitted user will follow these steps:
1. Click the menu button "Create New" and select the option to Create Quick Bill.
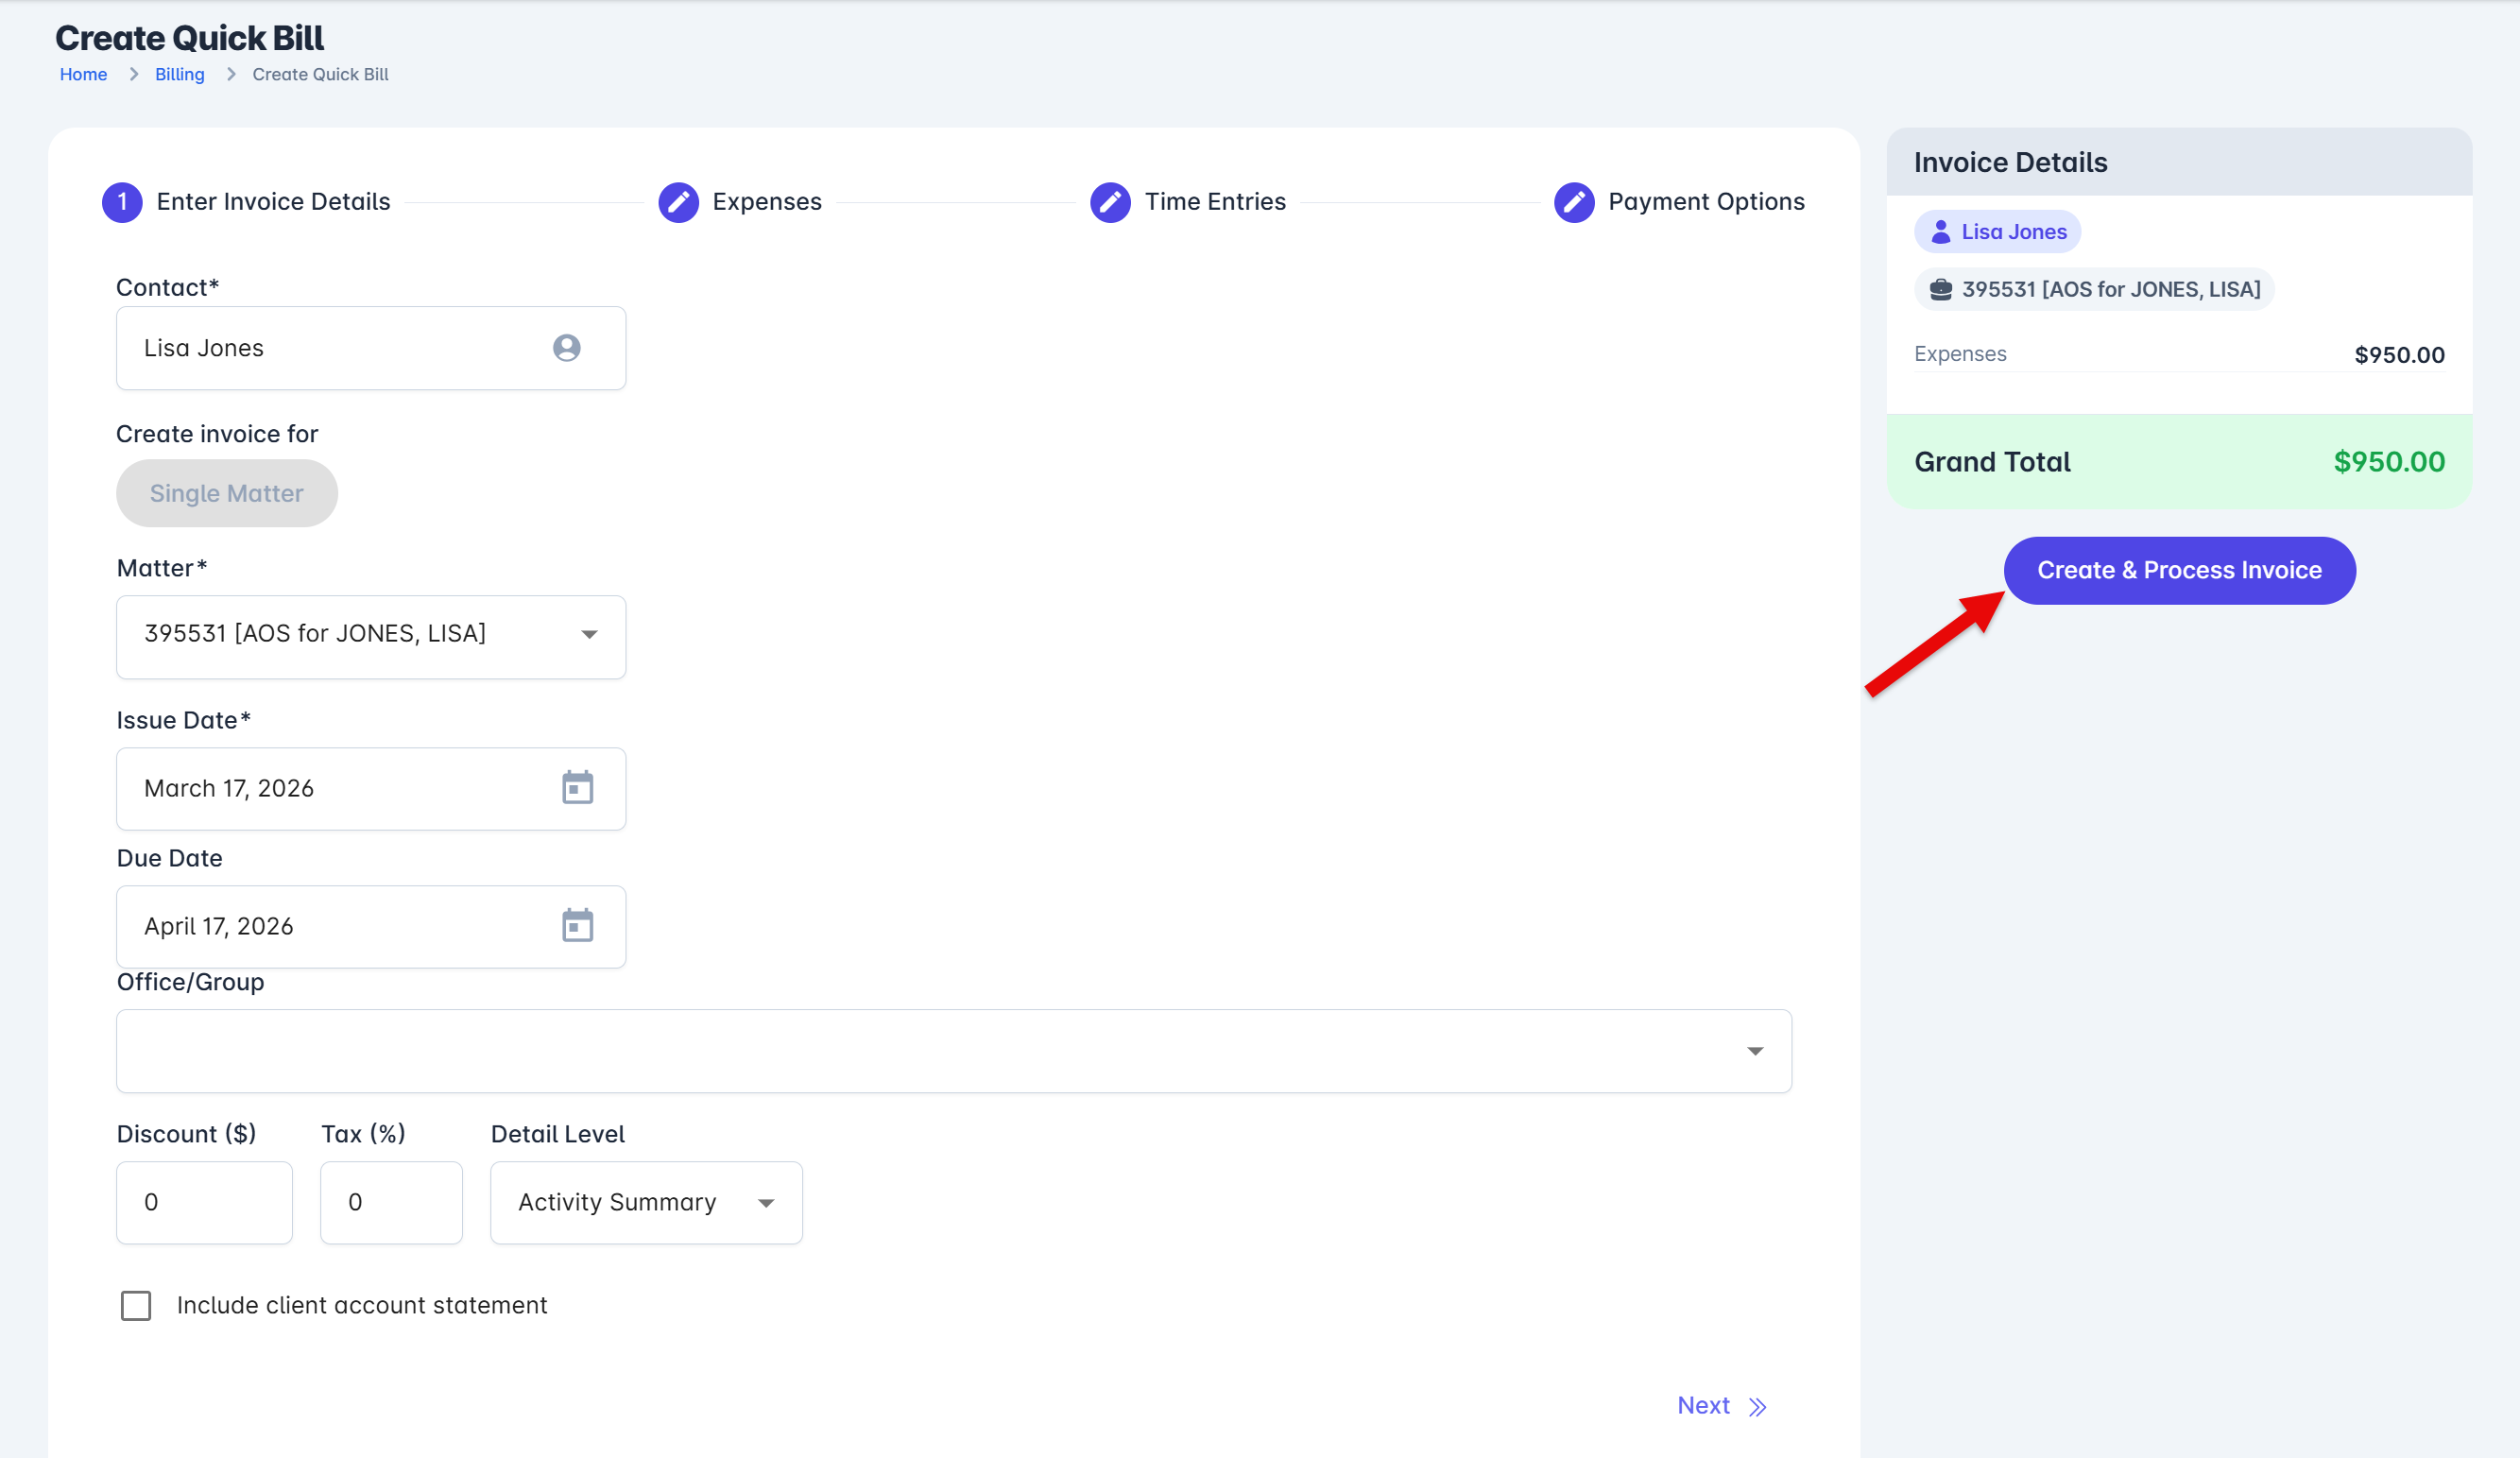
2. The Quick Bill screen will open up, allowing the user to enter the invoice details, expenses or time entries, and select a mode for payment.
3. Once these details are entered, click the "Create & Process Invoice" button to seamlessly create the charge, approve the invoice, and process the payment, all in a single click.