
With LollyLaw's Quick Bill feature, it just got even easier to generate, approve, and process a payment for an invoice.
The following instructions will allow you to get started with LollyLaw's Quick Bill feature, and begin generating and processing payments seamlessly.
Verify User Permissions
First, you will need to update your office's security groups' permissions.
1. Go to Settings>Security Groups, and select the groups which you would like to enable permissions for this Quick Bill feature. Note: to enable this Quick Bill feature, the user must have Billing permissions.
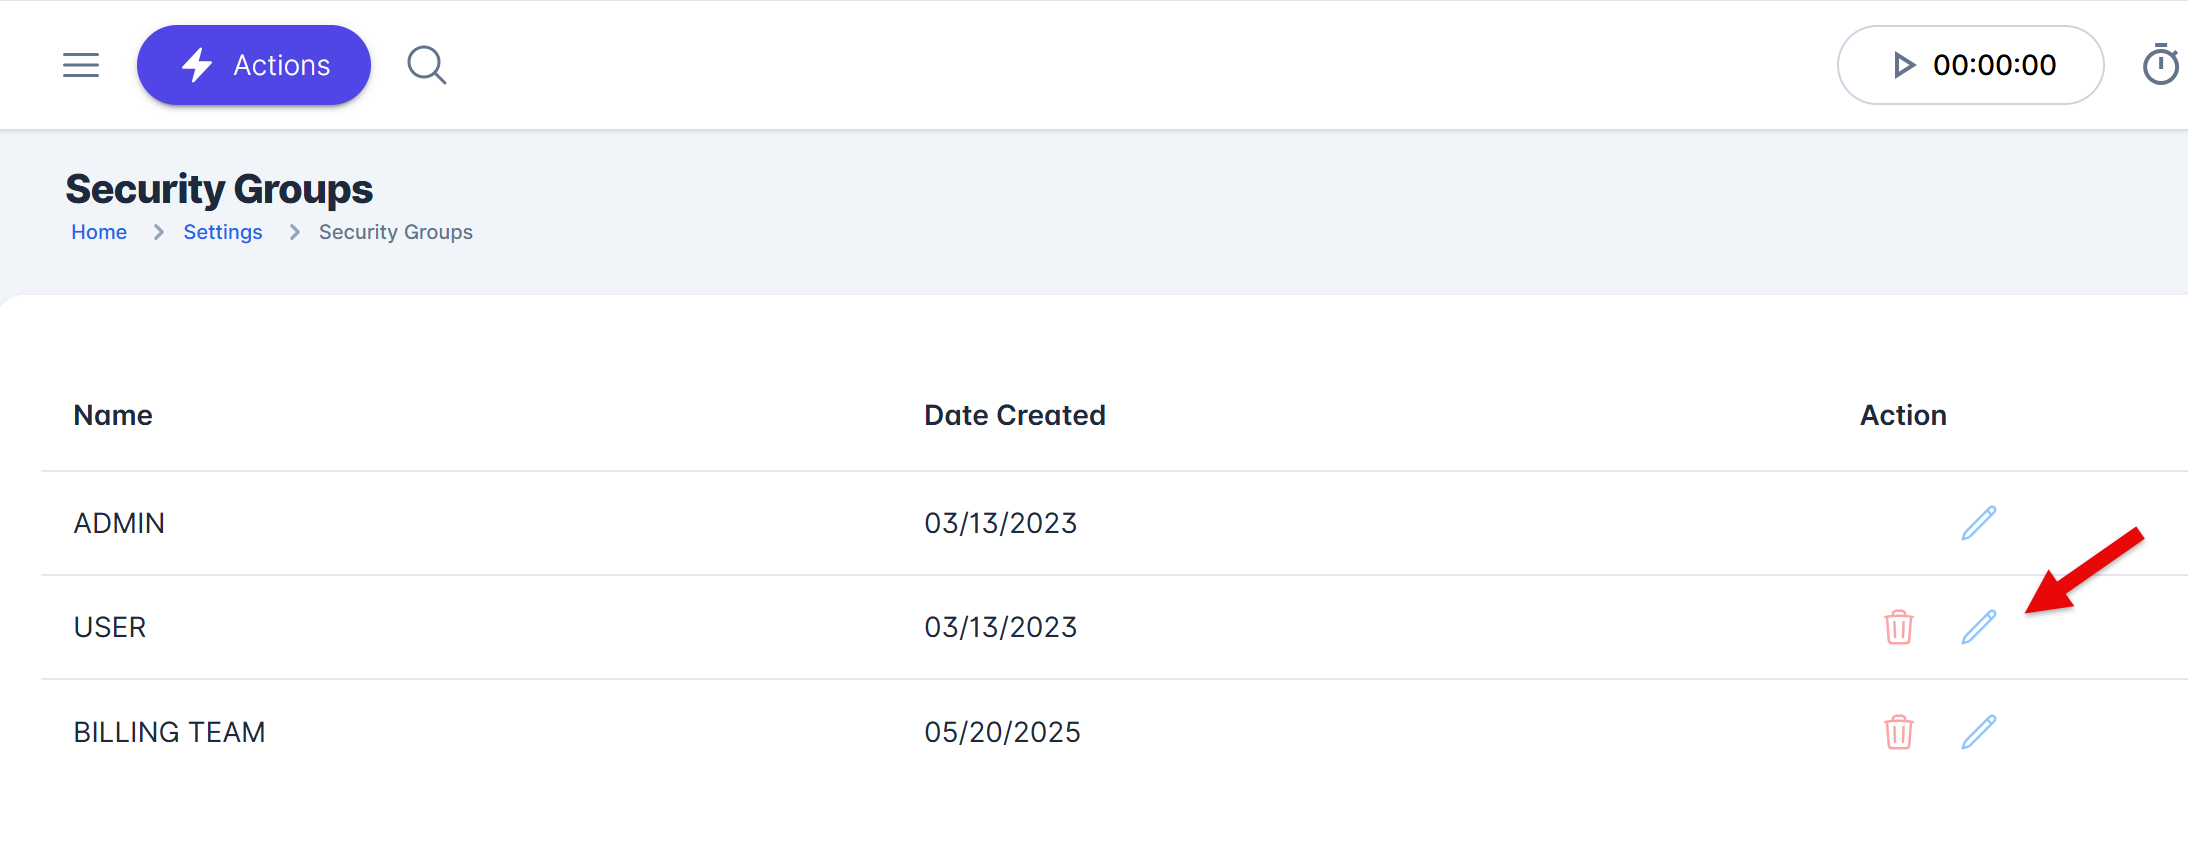
2. Select the permission "Can approve invoice (Quick bill, Billing permission must be enabled)." Once the permissions are enabled for "Quick Bill," the user will be able to use the Quick Bill feature.

Quick Bill Feature
To use the 'Quick Bill' feature, please follow these steps:
1. Click the menu button "Actions" and select the option to "Create Quick Bill".
2. The Quick Bill screen will open up, allowing the user to enter the invoice details, expenses or time entries, and select a mode for payment.
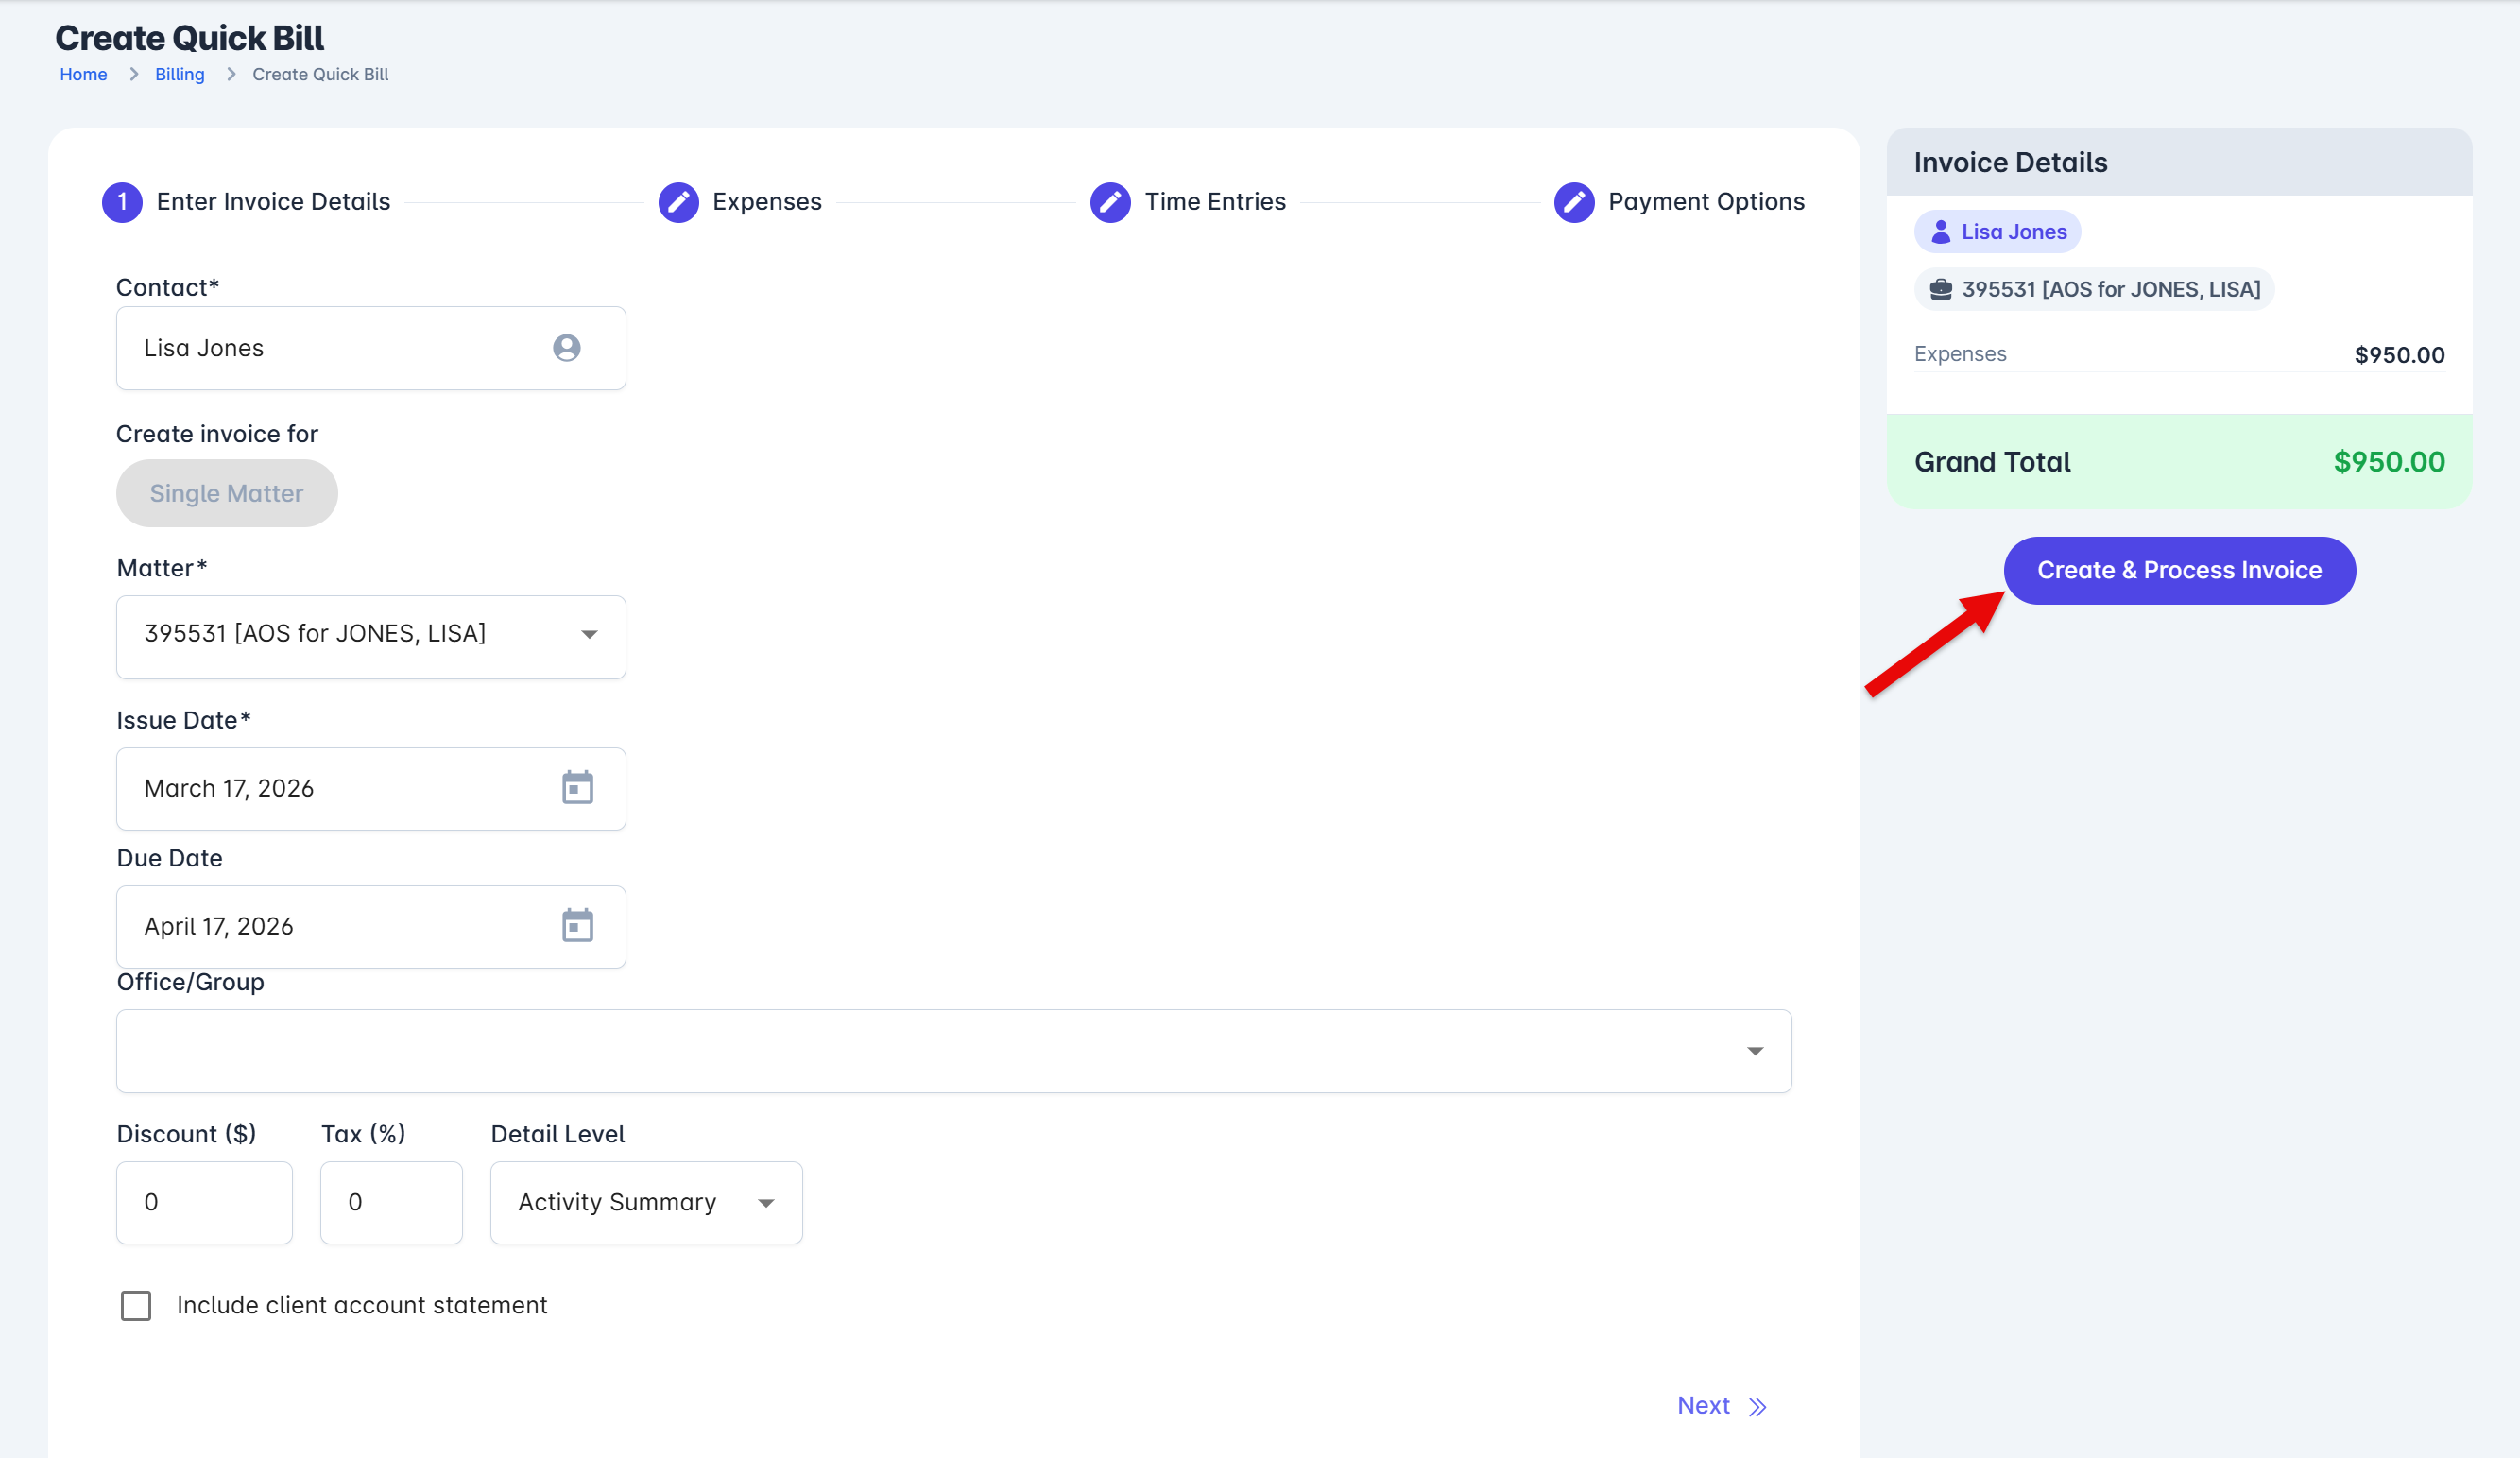
3. Once these details are entered, click the green "Create & Process Invoice" button and the system will create the charge, approve the invoice, and process the payment.