
Document Automation makes it quick and easy to generate polished, professional documents using the information already stored in LollyLaw. Instead of copying and pasting details, you can automatically pull in contact, matter, and event data in just a few clicks.
Common examples of document templates include:
Contracts
Welcome Letters
Reminders of Events
Case Closure Letters
Once your template is set up, generating documents takes seconds.
Creating a Template
Supported file type: .docx
Getting started is simple:
Open the Word document you'd like to turn into a template.
Add the appropriate Document Automation fields where you want information to appear. A full list of available fields can be found here.
Save your document.
That's it — your template is ready to upload.
Upload Template
First time using Document Automation?
LollyLaw will automatically create a “Templates” folder in your account's cloud storage.
Go to Library → Document Templates.
Click Upload Document
Select and upload your .docx file.
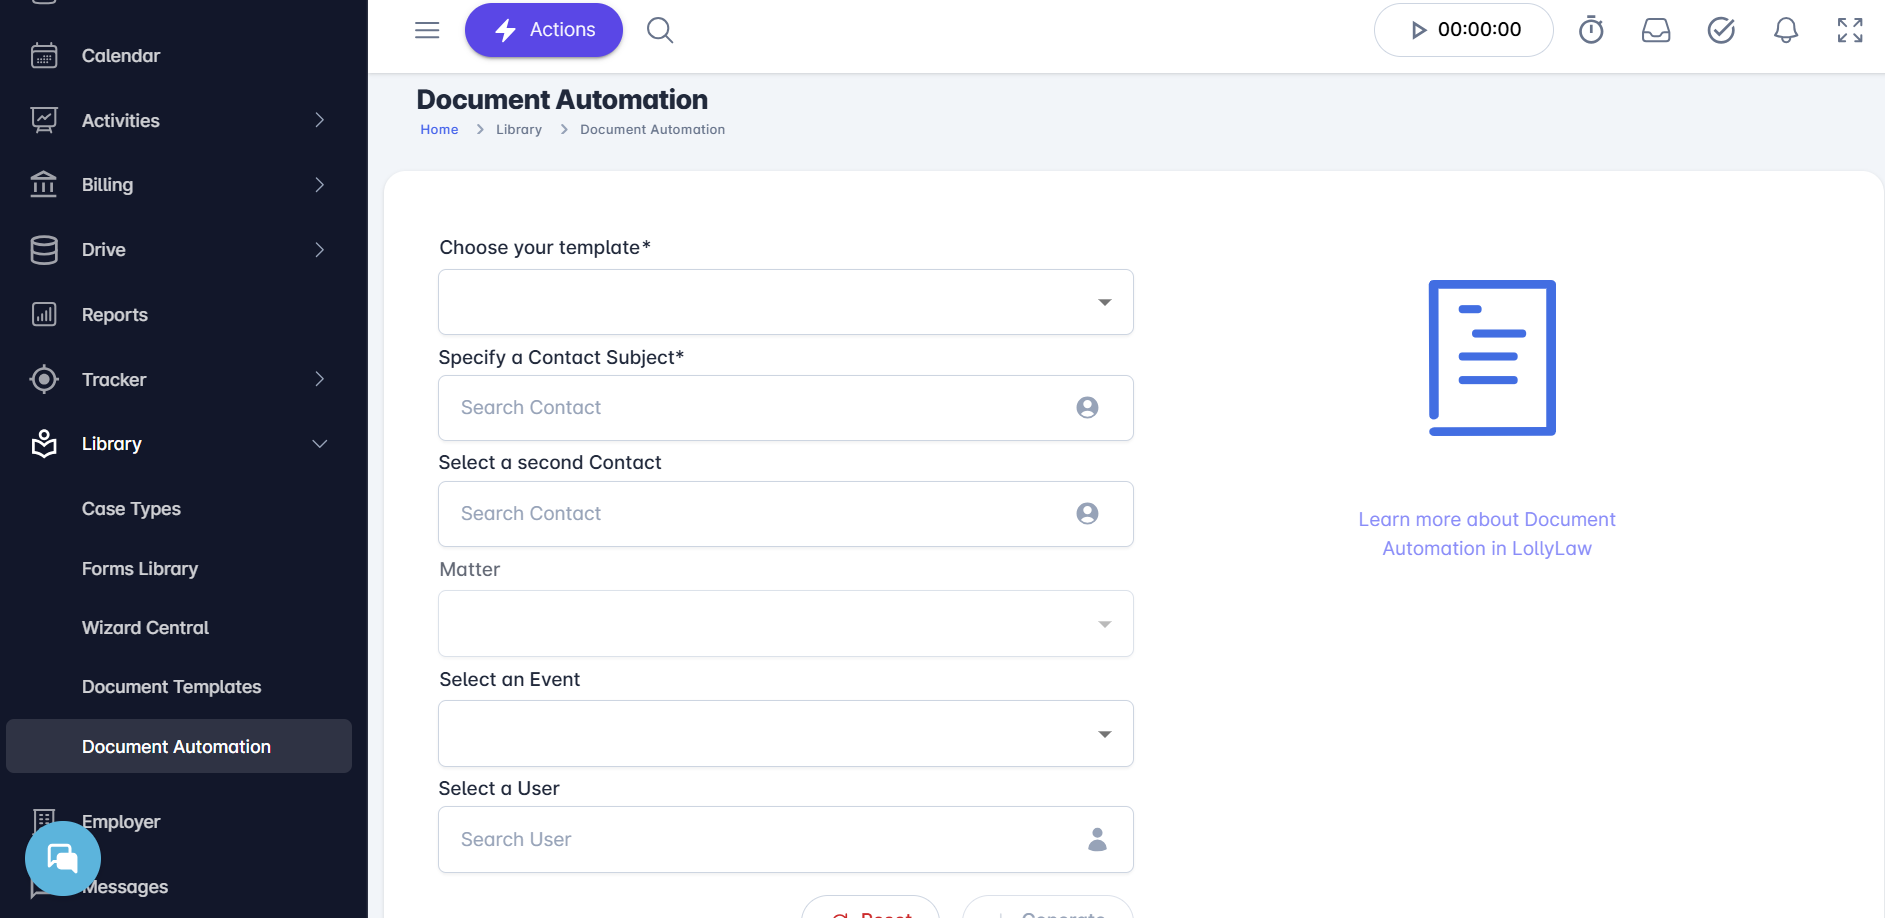
Generating a Document
When you are ready to create a document, you can do so from the Library → Document Automation page.
Choose your template from the dropdown list.
Don't see it? Make sure it’s been uploaded to the Document Templates section.Search for and select the Contact the document is for.
Select a Matter if your document includes matter-specific details.
Select an Event if the document references a specific event.
Click Generate.
The system will create the document, and it will automatically download to your local machine — clean, accurate, and ready to go.