
Overview
The Checklist is located within the Client Bridge tab of a contact record.
To access it:
Open a contact record
Select the Client Bridge tab
Scroll to the Checklist section
The Checklist allows your office to assign tasks for clients to complete, separate from questionnaires or document requests.
These tasks can include:
Action items (e.g., obtain documents, complete steps)
Descriptions with additional instructions
Optional due dates
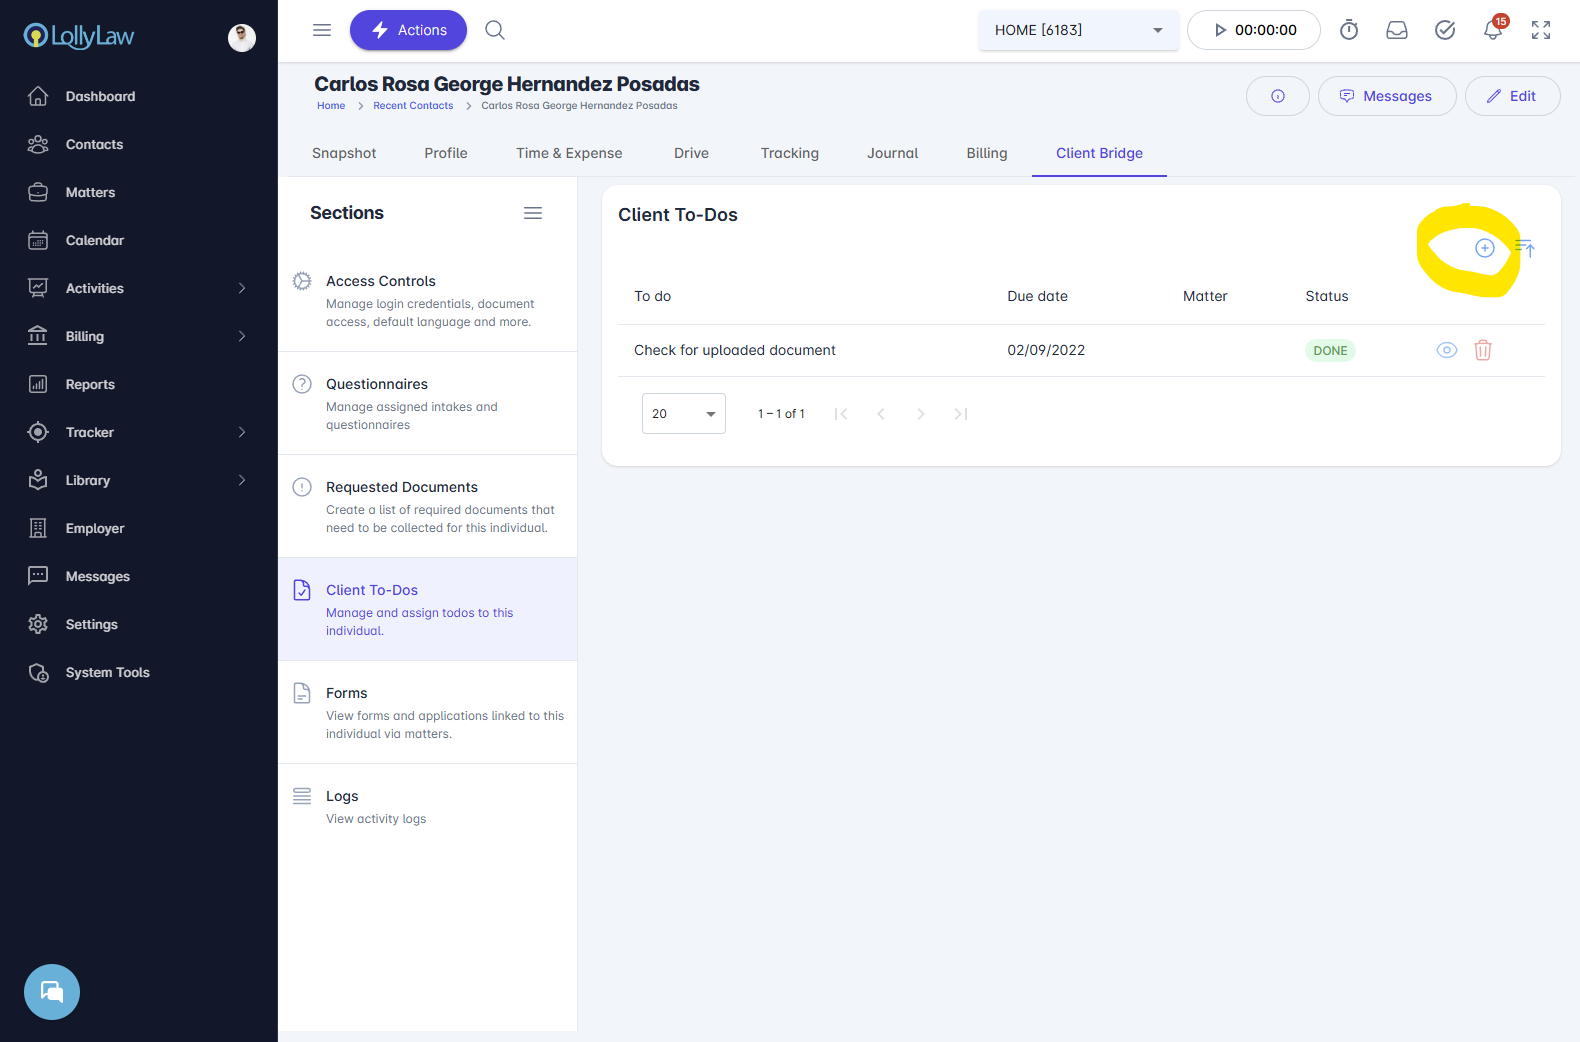
Adding Tasks to the Checklist
To create a new checklist task:
Navigate to the Client Bridge tab
Select the Checklist section
Press the blue “+” button
Enter the task details:
Task Name
Description
Due Date (optional)
Save the task

Once assigned, the client will be notified and can view the task when they log in to the Client Bridge.
The Checklist helps your team clearly communicate required client actions and keep cases moving forward.
If you need additional assistance, refer to related articles, watch the video at the top of this page, or contact our support team at support@lollylaw.com .