
When working on a contact or matter record in LollyLaw, it may be helpful to save notes for yourself or your team members to reference later. The following are instructions to save notes to a journal in LollyLaw.
Create and Save a Note to a Journal from Anywhere in LollyLaw
From any page in LollyLaw, select 'Actions' at the top of your screen and select the option 'Add Note'.
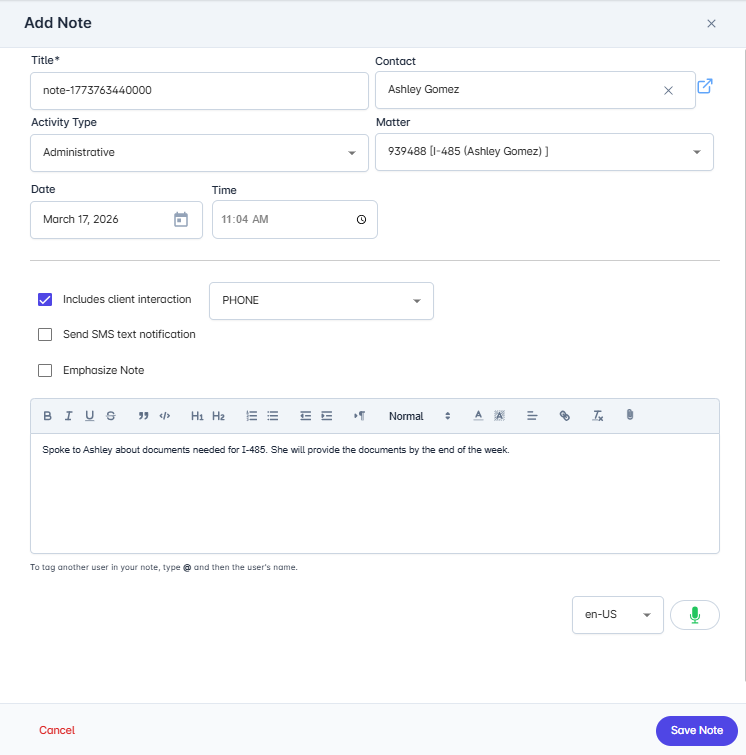
A drawer will open where you can customize the title of the note under 'Title' or leave the automated note ID Lolly provides.
Click on 'Select Activity Type' to open the drop down menu and select the most applicable activity for the note.
Type in the client's name under 'Contact'. This will ensure the note is added to the journal in the contact record.
If you also want the note added to the matter journal, type in and select the applicable matter under 'Matter'.
Edit the date and time if needed to reflect when the activity occurred, along with adding additional note details.
In the text box, type the details of your note. You may also tag other users in the note by typing '@' followed by their name. This will alert the tagged user via an in-app notification in LollyLaw and an automated email.
Select the 'Save' button to save your note. The note will be saved to the journal tab under the contact and/or matter that you selected in steps 5-6.
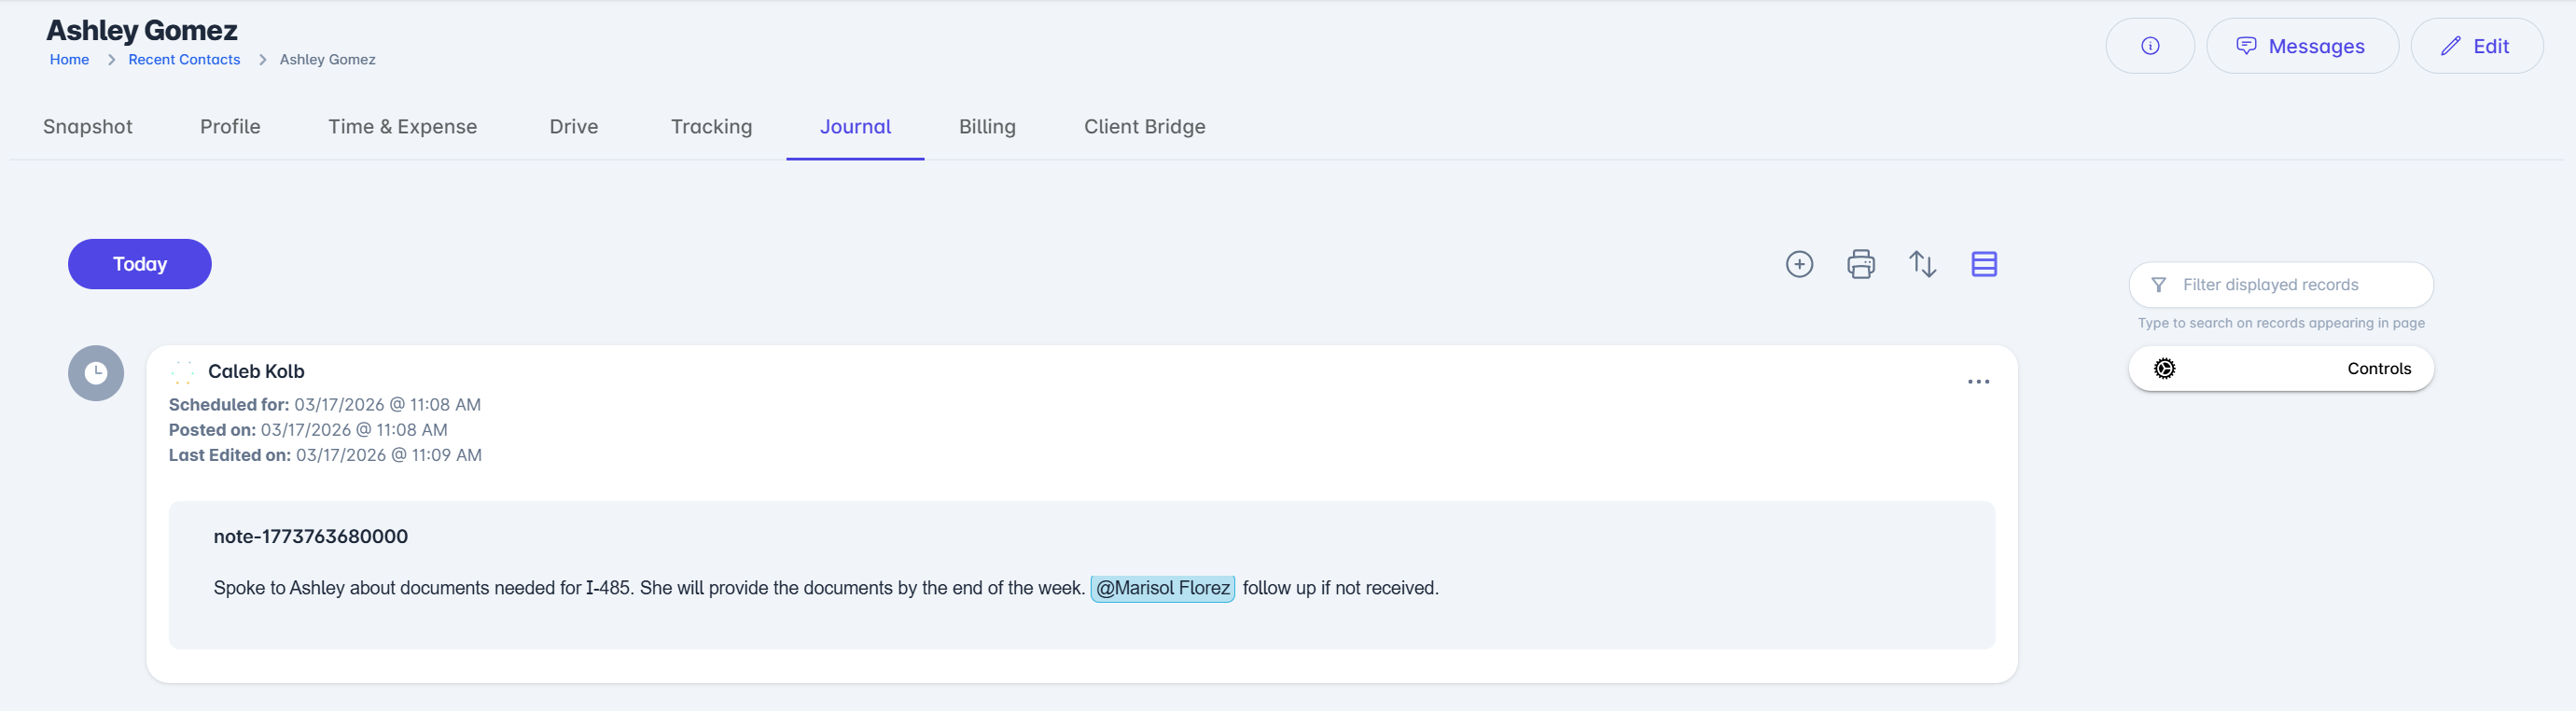
Create and Save a Note from the Contact Tab
Go to Contact>Client Name>Journal.
Select the '+' button on the far right of your screen.
A drawer will open where you can customize the title of the note under 'Title' or leave the automated note ID Lolly provides.
Click on 'Select activity type' to open the drop down menu and select the most applicable activity for the note.
If you also want the note added to the matter journal, type in and select the applicable matter under 'Matter'.
Edit the date and time if needed to reflect when the activity occurred, along with adding additional note details.
In the text box, type the details of your note. You may also tag other users in the note by typing '@' followed by their name. This will alert the tagged user via an in-app notification in LollyLaw and an automated email.
Select the green 'Save' button to save your note. The note will be saved to the journal tab under the contact and, if selected in step 5, the matter.
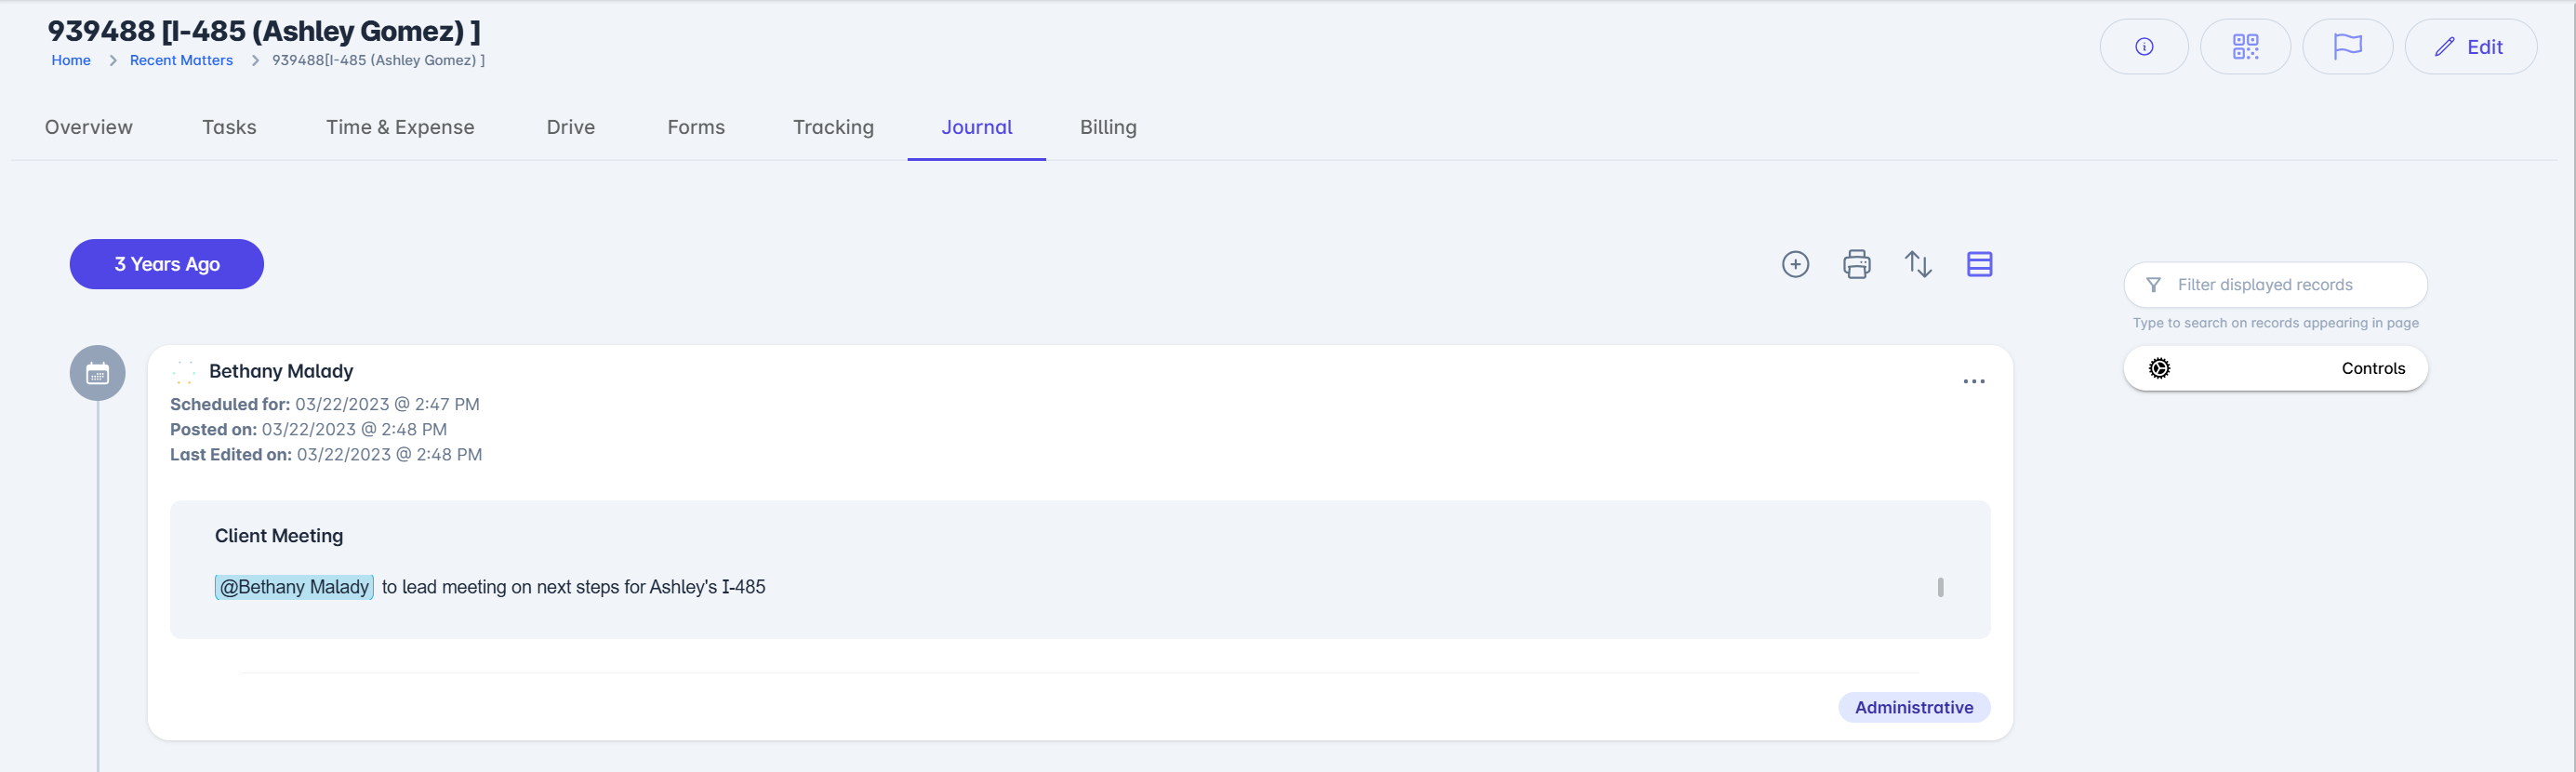
Create and Save a Note from the Matter Tab
Go to Matter>Matter Name>Journal.
Select the '+' on the far right of your screen.
If you wish, customize the title of the note under 'Title'
Click on 'Select activity type' to open the drop down menu and select the most applicable activity for the note.
The note will automatically populate the Contact and Matter fields.
Edit the date and time if needed to reflect when the activity occurred, along with adding additional note details.
In the text box, type the details of your note. You may also tag other users in the note by typing '@' followed by their name. This will alert the tagged user via an in-app notification in LollyLaw and an automated email.
Select the green 'Save' button to save your note. The note will be saved to the journal tab under the contact and matter.
Filter Journal Entries Within a Contact or Matter Record's Journal
Open the 'Journal' tab through the Contact record or Matter record.
Select the blue gear icon on the far right of the screen.
Toggle through the listed filters based on record type, date range, activity type, interaction type, or emphasized notes. You can also choose to view the journal in a table or timeline view.
Select the green 'Apply' button.
Only journal entries that match the search parameters will be displayed.