
Introduction LollyLaw offers a seamless integration with your existing Google Drive storage; making it easy and convenient to organize the files for your contacts, matters, and templates. This guide outlines the simple steps and requirements needed to enable this integration.
Requirements Before you begin, ensure that you have:
An active G Suite account.
Sufficient storage available on your Google MyDrive.
Step-by-Step Integration Guide
Enable Google Drive in LollyLaw
Log in to your LollyLaw account.
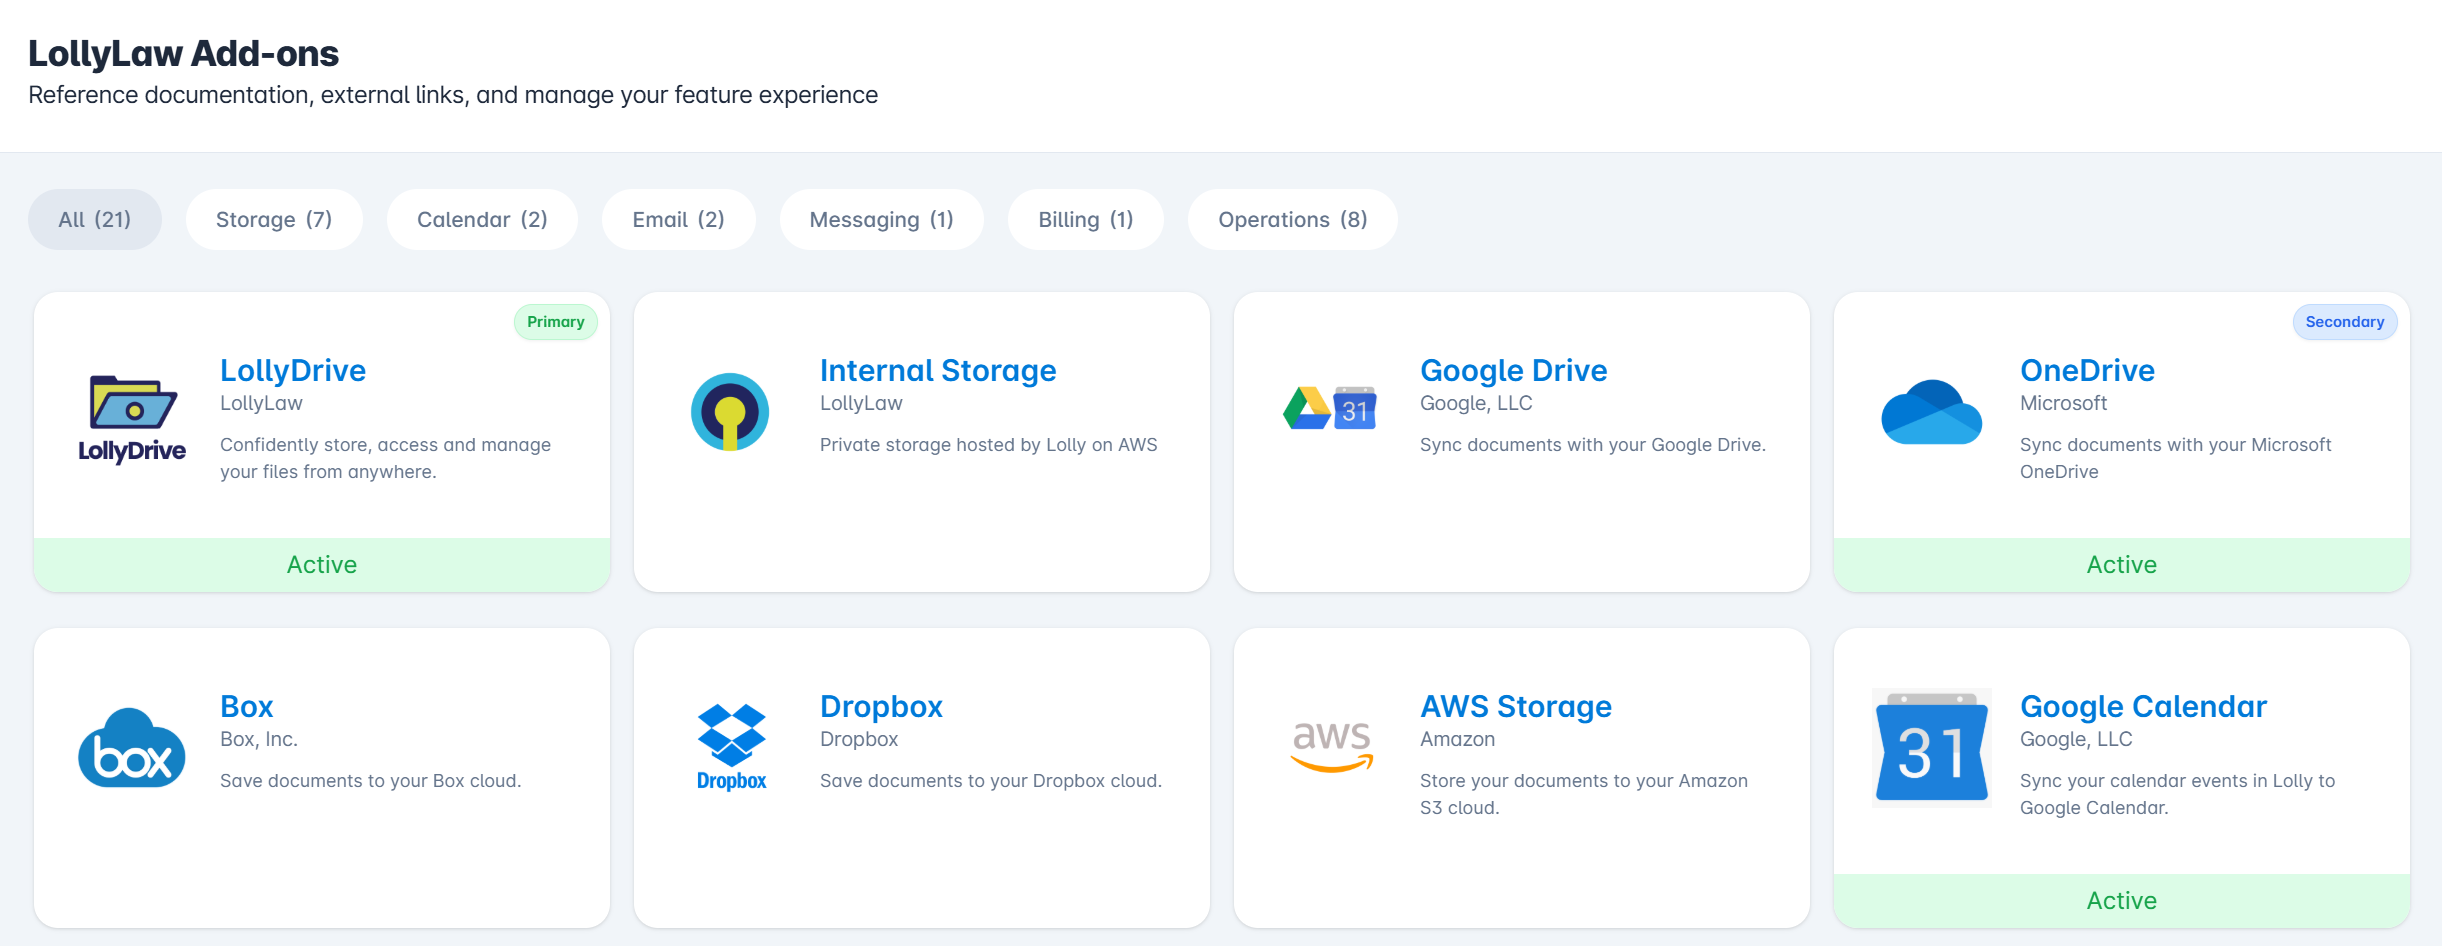
Navigate to Settings > Add-Ons & Integrations.
Locate the Google Drive options and click the Enable button.
Follow the prompts to authenticate using your Google credentials. It is crucial to read and understand any instructions during this process carefully. Ensure you grant the necessary permissions for the LollyLaw application to read, write, and manage files in your MyDrive.
Important Note
LollyLaw provides automation and conveniences based on your preferences. LollyLaw may facilitate actions in your Google Drive and Google Calendar with your permission. Certain actions or functions may only be accessible from within your Google Account.
Additional Information
Cloud Storage Providers
Lolly current integrates with the following major cloud storage providers:
Microsoft OneDrive
Google Drive
Box
Dropbox
Amazon AWS
You can enable storage sync with any of the providers listed above by going to Settings->Integrations and following the on-screen setup process.
Automatic Folder Creation
Whenever you add a new contact or open up a new matter the system will reach out to your Google Drive and create folders for you on your behalf, so you don't have to go and do that manually. When viewing the record in Lolly, there will be a tab titled [Documents]. This view will display a table that lists the files and folders for this record in your cloud storage.
Available Actions
When working in the [Documents] tab, there are controls located in the upper right of the table. These options include:
Document Automation - launches a wizard to create custom documents and populate them with data from the system. Need to generate a cover letter with the client's name and address? Document Automation can help.
Jump to Folder - opens a new tab and takes you straight to the specific folder for this contact/matter in your cloud storage. Saves you time since you do not have to go searching for that folder or clicking through a directory of folders to get to where you want to go.
Upload - opens a popup that allows you to select a file from your computer or drag and drop multiple files to upload to your cloud storage
Create New Folder - creates a new subfolder in this directory in your cloud storage
Fix Folder - creates a brand new folder and links it to this contact/matter record
Sync with Cloud Storage - communicates with your cloud storage provider to pick up any changes that have occurred outside of Lolly and displays the latest files and data onscreen
Conclusion By following these instructions, you can efficiently integrate Google Drive with your LollyLaw account to better manage your legal documents and files. For further assistance or inquiries, please contact our support team.